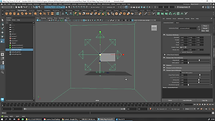
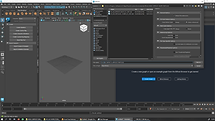
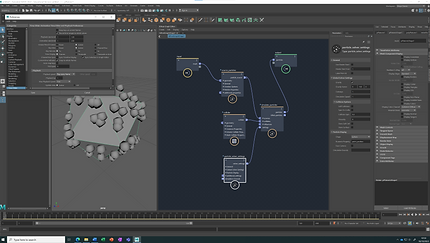
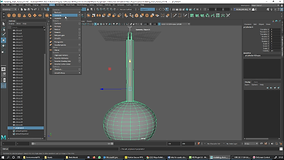
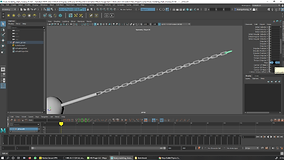
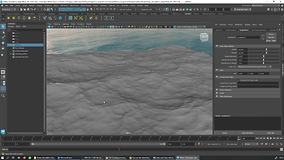
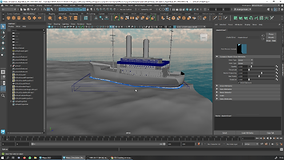
Overview of Nuke
This week an overview of Nuke where introduced, the basics of the viewer window, time line including in and out points, the projects settings information’s in the viewer (Bottom), Gama and Gain control de exposure of the image (top viewer). Also, showing the Node Graphs and adding more nodes to the project.
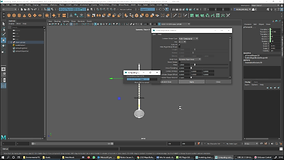
Setting project directory
Each section, the projects will be at the desktop. A folder called Nuke_Overview where downloaded from blackboard to the desktop.
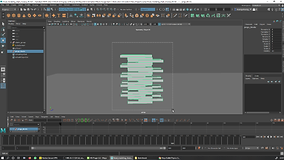
Now with my Nuke 13.0v1 open and before bring any Nuke Comp script, Press S in the Keyboard to set up the project settings. Pressing the `Script Directory` folder in project settings box and search to Nuke_Overview folder saved to the desktop and press open not going in to any of the folders. With the project directory set which is very similar to Maya, to have it all in specific folders, to be a where when to move files around, and then, go to Files, Insert Comp Nodes, navigates to the Nuke_Overview folder saved to the desktop once again, click in the nuke_scripts, and choose the folder, and click open.
To view the image on the viewer window click and press 1 in the keyboard.
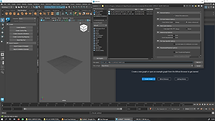
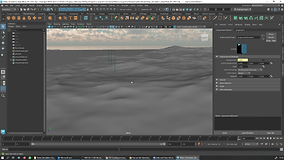
Overview of Nuke
This week an overview of Nuke where introduced, the basics of the viewer window, time line including in and out points, the projects settings information’s in the viewer (Bottom), Gama and Gain control de exposure of the image (top viewer). Also, showing the Node Graphs and adding more nodes to the project.
Setting project directory
Each section, the projects will be at the desktop. A folder called Nuke_Overview where downloaded from blackboard to the desktop.
Now with my Nuke 13.0v1 open and before bring any Nuke Comp script, Press S in the Keyboard to set up the project settings. Pressing the `Script Directory` folder in project settings box and search to Nuke_Overview folder saved to the desktop and press open not going in to any of the folders. With the project directory set which is very similar to Maya, to have it all in specific folders, to be a where when to move files around, and then, go to Files, Insert Comp Nodes, navigates to the Nuke_Overview folder saved to the desktop once again, click in the nuke_scripts, and choose the folder, and click open.
To view the image on the viewer window click and press 1 in the keyboard.
Rodrigo Rodrigues
Small drops of water building up an atmosphere with a tinge of blue. A washed blue creates the ilusion of distance. Interesting to see that in visual effects i noticed the same process digitaly.
Jason Martine
Introduction to the week Rigid Body Dynamics
Video above given by Jason to coplement the investigation
3 min Extract from 30 minute long1987 film
by the Artists David Weiss and Peter Fischli (Picture right)
Found their work helpfull to my investigation process.

The bullet physics engine
Work flow and thechniques for creating rigid body simulations, using the Bullet physics engine.
Fundamental work flows and freamework to setup simulations.
Rigid Body simulations are used when we don't need to deform our simulated geometry
Scene setup
Working with simulations is assential to setup Maya`s folder structure in a proper way avoiding during in the work process. Working with simulations is essential to setup Maya`s folder structure in a proper way avoiding during in the work process.
Setup framerate "accordingly" to what platform or territory the final product is going to be broadcasted.
In Windows/SetPreferences/preferences/Settings/TimeSlider/PlaybackSpeed set to EveryFrame.
Scene scale
In Maya 1 Unit represents 1cm, and simulations 1 unit represents 1m as any simulation works in the real world units. As Jason shows an example of a water simulation following into a cup in Maya, based on cm units, it looks slower if the same event would happen in the real world, and the water has lot of details that would not be possible in a real world water.
The simulation calculates the movement across as square meters unities and it takes longer than just a cm unit.
Setup the software in that way the simulation understands that a cm cup is not a meter cup.
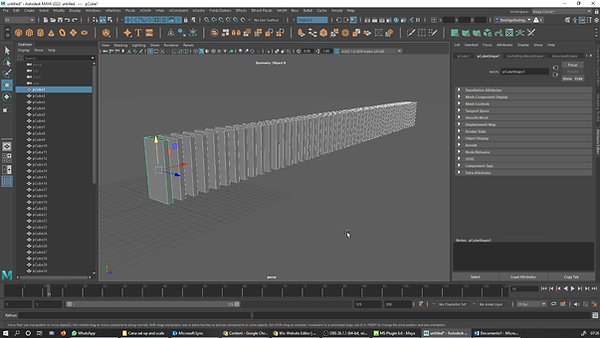
First simulation fix scale


Plane created and scaled, go to Bullet/ActiveRigidBody/
first in Body/Type select Static/Body , in ColliderShapeBody select MeshStaticOnly -
Apply and Close
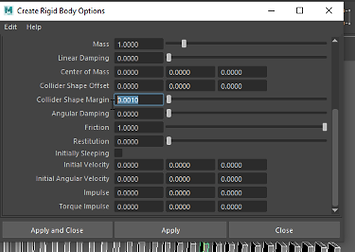
After modeling the Dominos, select Itall then go to VFX/Bullet/ ActiveRigidBody, reset settings and set BodyType to Dynamic Rigid Body, ColliderShapaType to Box and ColliderShapeMargin to 0.0010 -
Applay and Close


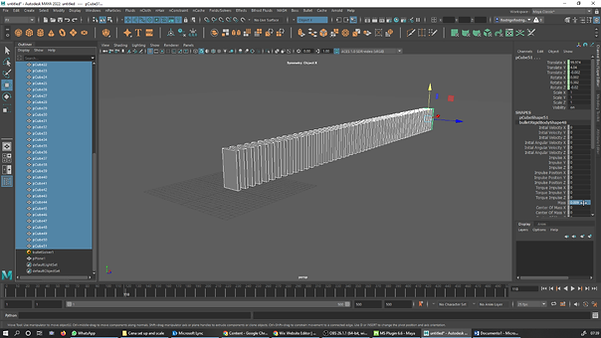

With the first domino selected go to AtribuiteEditor, under the BulletRigidBodyShape set inicial velocity under inicial conditions box. In this case was set to 2
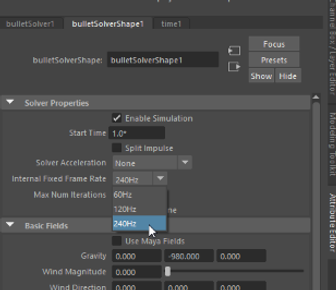
As shows the image on the right, in Outliner select BullerSolver, go to AtributeEditor under the box BulletSolverShape BasicFields, multiply the number by 100. by defalt is -9.8 x by 100 is -980 aligning Maya with the simulation.
Need also to Change the InternalFixedFrameRate to 240Hz at Solver/Properties
With all Domino selected, in ChannelBox, incrise Mass to 0.009 as it shows the image.
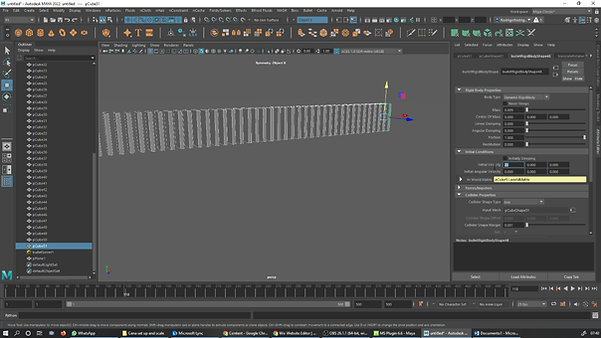
Inicial velocity to 25
Task final result
links and videos given by Jason to coplement the investigation for the simulations in the week coming
NCLOTH
NCloth SetUp


NCLOTH
Making a Flag


NCLOTH
Flag Forces

NCLOTH
Clothes

Bifrost
Basics

.png)


Bifrost
INSTALLING COMPOUNDS

.png)
Bifrost
BASIC PARTICLE SETTINGS
.png)


Bifrost
COLOUR PROPERTY


Bifrost
Fluids


assignment 1
Artefact destruction


assignment 1 Final
Artefact destruction
assignment 1
Cloth


assignment 1 Final
Cloth
assignment 2
Environmental Effects, Three Scenarios
Natural


Reference Video
Final Natural + CSI + Fantasy
Fantasy


Reference Video
Final Natural + CSI + Fantasy
assignment 1 Finals
Artefact destruction and cloth
assignment 2
Finals
Environmental Effects, Three Scenarios.
Video + Audio (Lower res)