Overview of Nuke
This week an overview of Nuke where introduced, the basics of the viewer window, time line including in and out points, the projects settings information’s in the viewer (Bottom), Gama and Gain control de exposure of the image (top viewer). Also, showing the Node Graphs and adding more nodes to the project.
Setting project directory
Each section, the projects will be at the desktop. A folder called Nuke_Overview where downloaded from blackboard to the desktop.
Now with my Nuke 13.0v1 open and before bring any Nuke Comp script, Press S in the Keyboard to set up the project settings. Pressing the `Script Directory` folder in project settings box and search to Nuke_Overview folder saved to the desktop and press open not going in to any of the folders. With the project directory set which is very similar to Maya, to have it all in specific folders, to be a where when to move files around, and then, go to Files, Insert Comp Nodes, navigates to the Nuke_Overview folder saved to the desktop once again, click in the nuke_scripts, and choose the folder, and click open.
To view the image on the viewer window click and press 1 in the keyboard.
Rodrigo Rodrigues

1. After Quad Draw a face, the sculpt tool and then changed the Pullbrush size
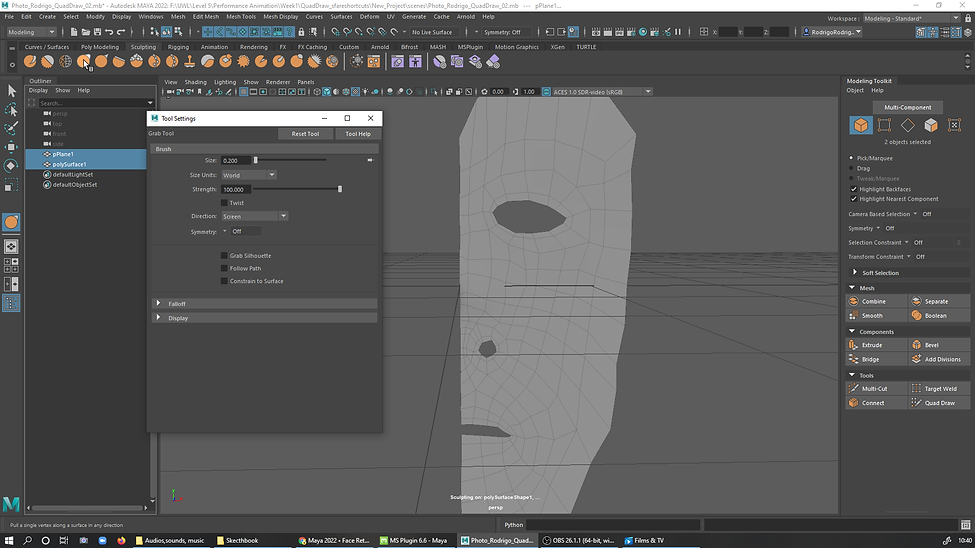
1a. And or B+LMC to min or max it

2. Centering the vertices to the center of the Grid before mirroring across the world Mode, it can be Mirrored in Local mode but it makes more sense in the WorldMode.
2a.
2b.
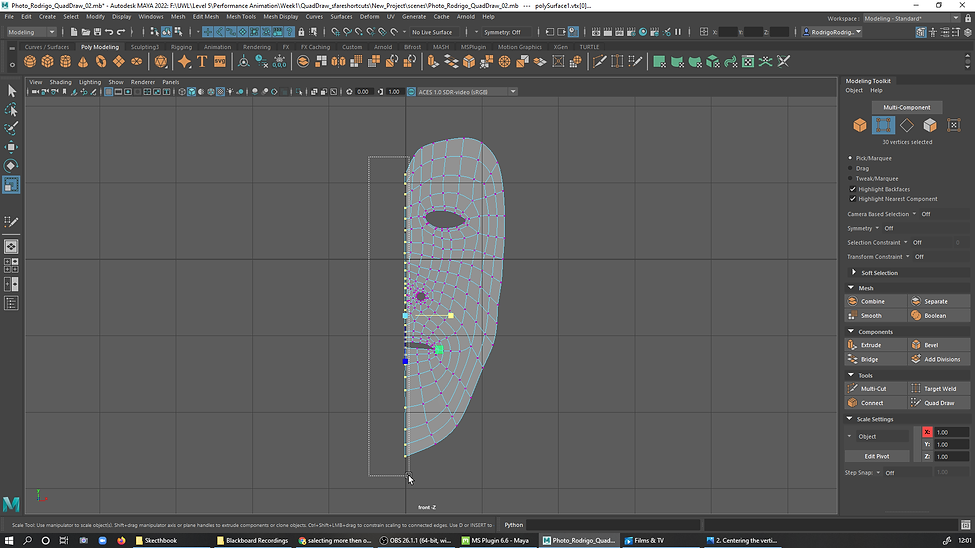
3. Snap the model and translate control to the Grid pressing D, moving the Translate X to the Grid, and press D again.
4. Mirroring the X values to the -X of the mesh.
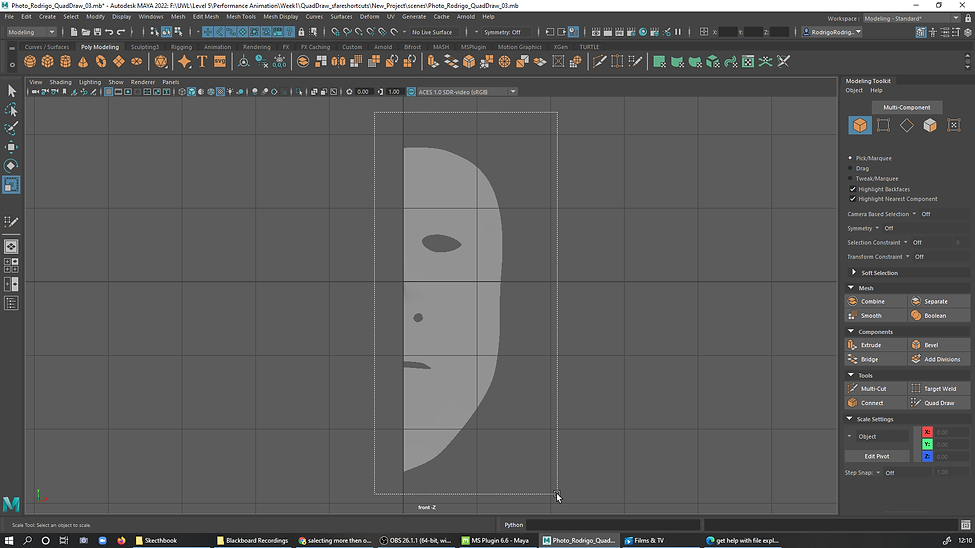
5. Mirroring the full face and saving the half face
5a.
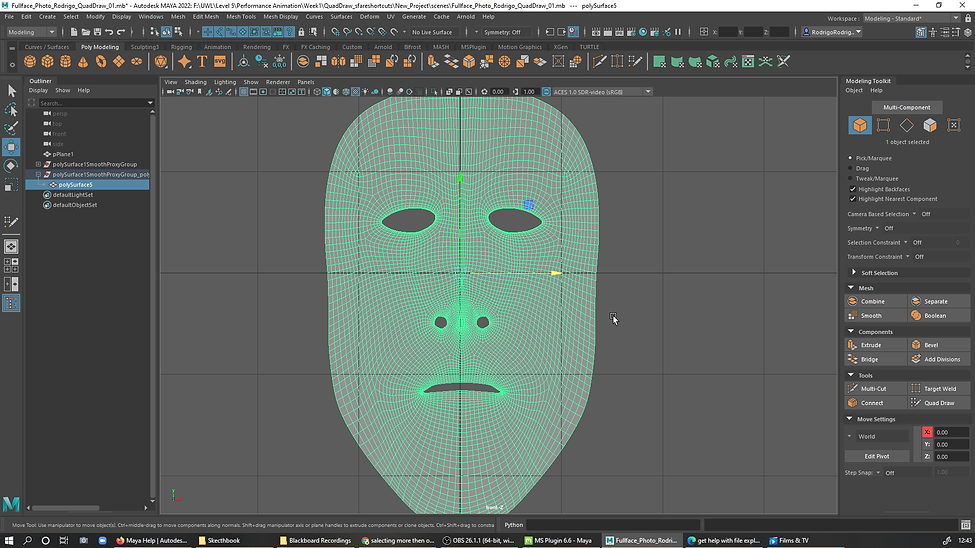
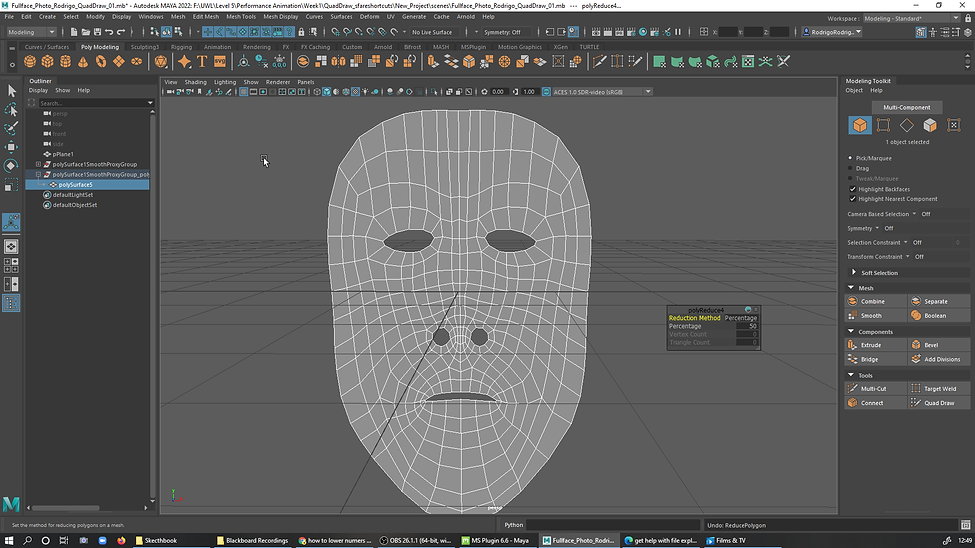
6. Poly reduction in Mesh-Reduce

6a.
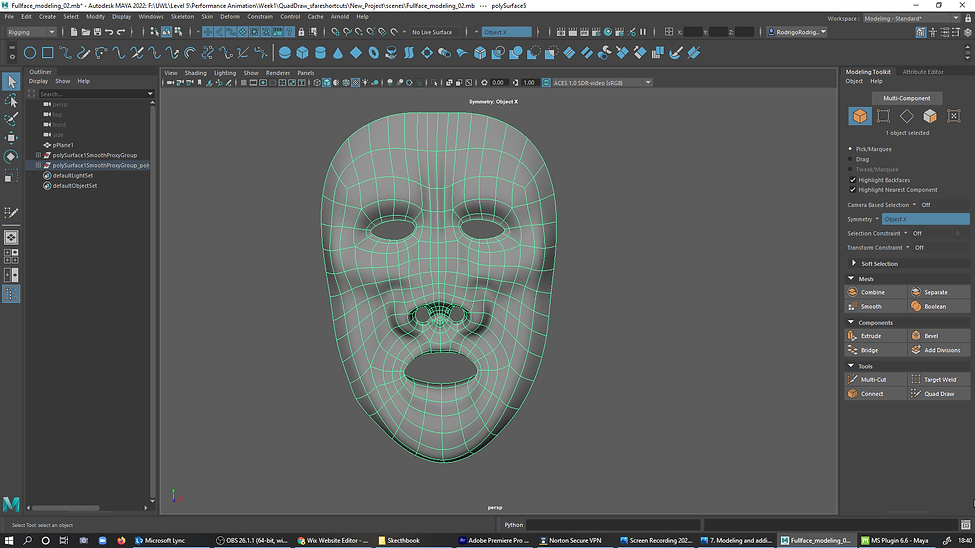
7. Modeling and adding loops...

9. working in progress - Not the results it should be... (Theater Mask)
References

Ancient Greek - The Warrior Mask

Tragic Comic Masks Hadrian's Villa mosaic

Masks used in ancient Greek theater were stylized to project a character's emotions.
Week 2: Retopologise ZBrush
Ms. Nilly Brook
Overview
This week the lesson covered topology and the creation techniques using ZModeller and Zsphere Retopologise. It was used
Exercise 1 - DemoAnimeHead rebuild the face topology using ZSpheres> Rigging>Topology>Adaptive skin
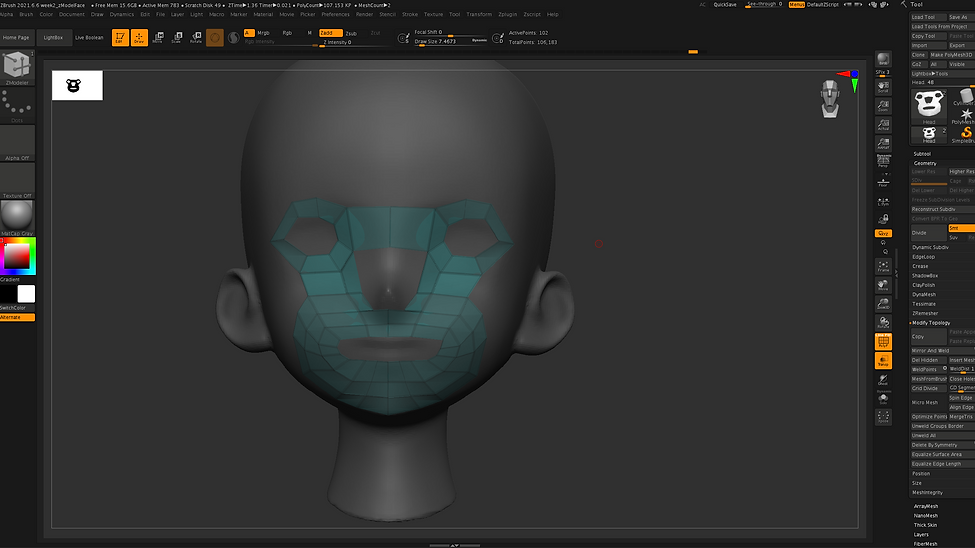
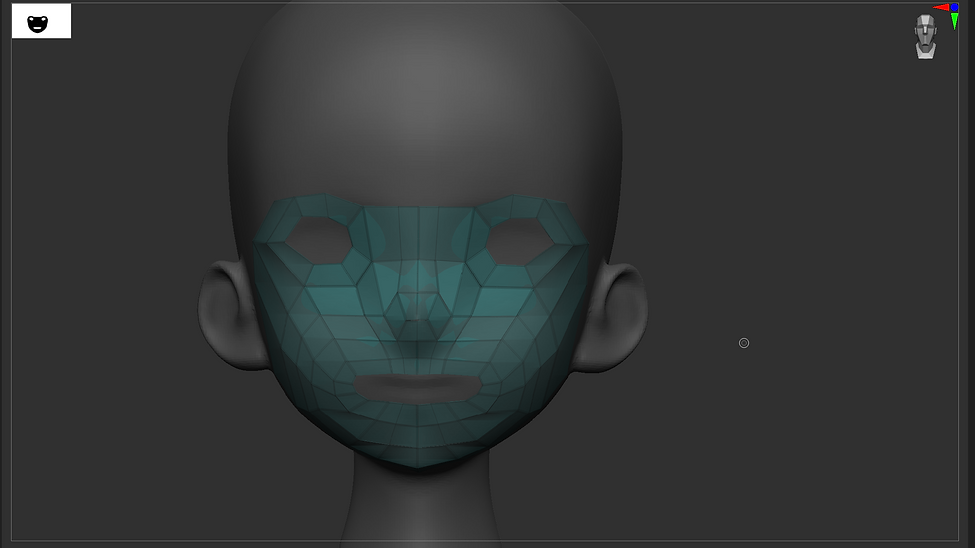
Exercise 2 - DemoAnimeHead rebuilding part of the head using the ZModeller approach.

Week 3: Hard Surface Modelling - ZBrush
Ms. Nilly Brook
Overview
This week the lesson covered hard surface modeling and building armour
Exercise 1 - Working with Hard Surface Modelling in ZBrush (Chopping Tools).
%20.png)
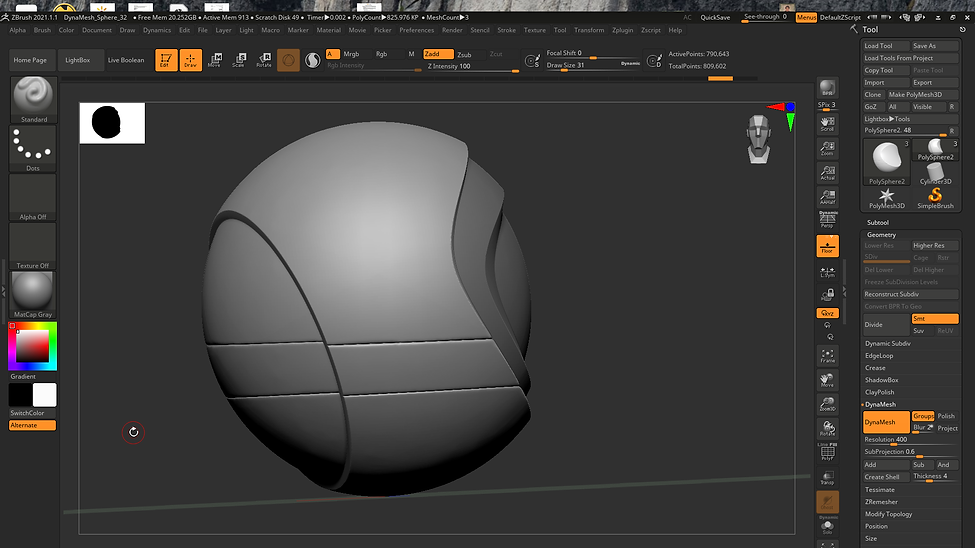
2. Start with a Sphere.

3. Divide up and DelLower as the ChoppingTools do not work in Subdivisions.
4. Ctrl+alt to select BRadius.

5. Selecting the TrimCurveTool BTM, Ctrl+Shift+RMS Cut it up to the desired point where the curve should start, then Tab+Alt performing the curve cut.

5a.

6. In Subtool, Split, and SplitToParts.

6a. W to move it to the desired position.

6b.

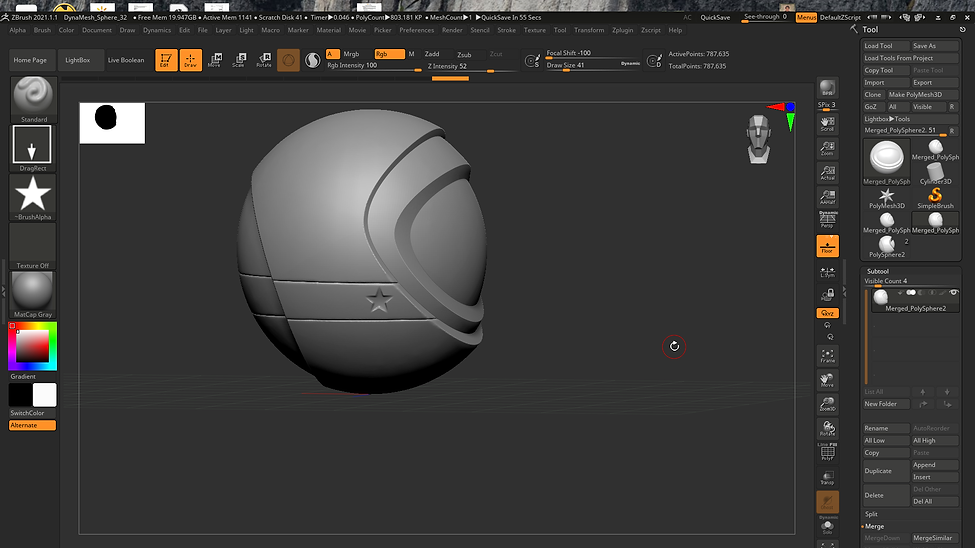
7. BSI to select the SliceCurve Tool, Select Polyf or Shift+F, in Polygroups select AutoGroups, then Ctrl+Shifit to draw the line desired, Spacebar to positioning.
8. Then SmoothBrush to smooth the lines.

9. Ctrl+Space to turn the BRadious back...

9a. Bcc to active the ClipCurve and Shift+Ctrl cuting the meshe in the desired area.
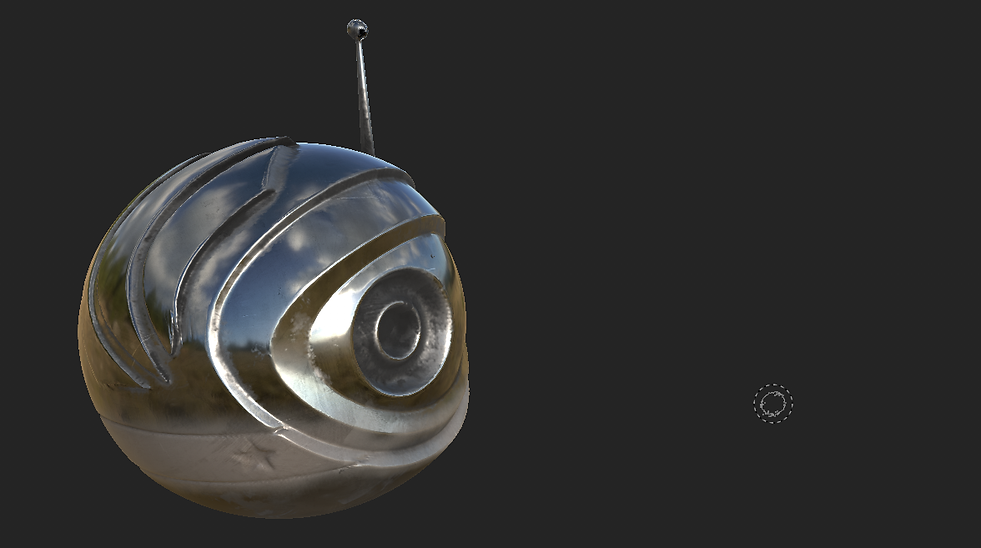
10. Merged the Subtools, Using maks and Alph to make the Star.
11. Side Detail, used maks and then in Subtool Extract, creating a Subtool and then TrimBrush and TrimCourve Brush and moved it around. . .

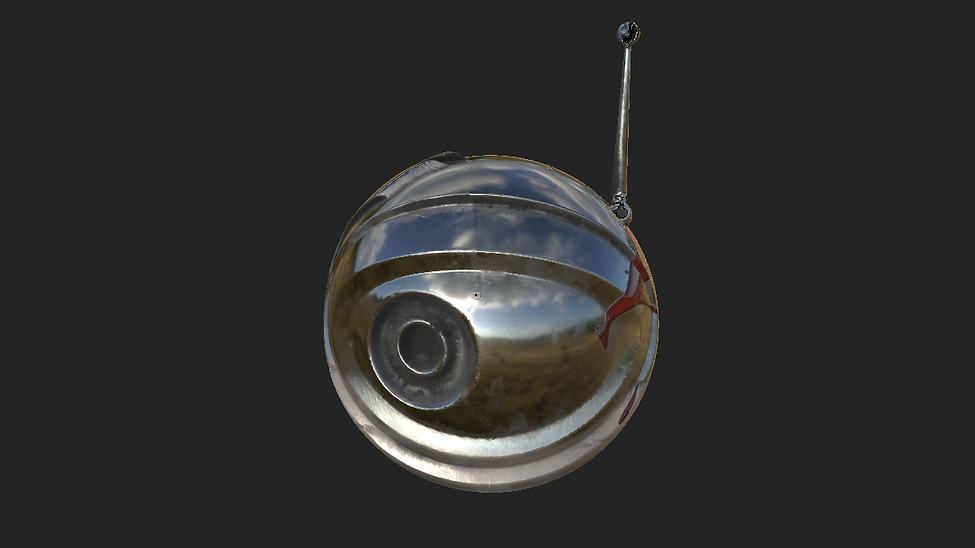
12. Satelite antenna detail made in append, adding spheres, scaling, duplicating, masking, and moving. Merging it all at the end.
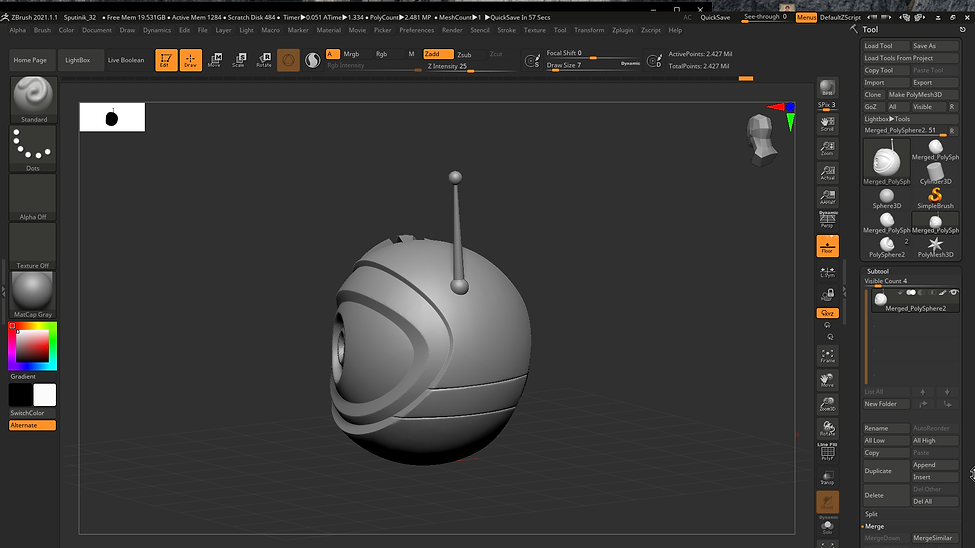
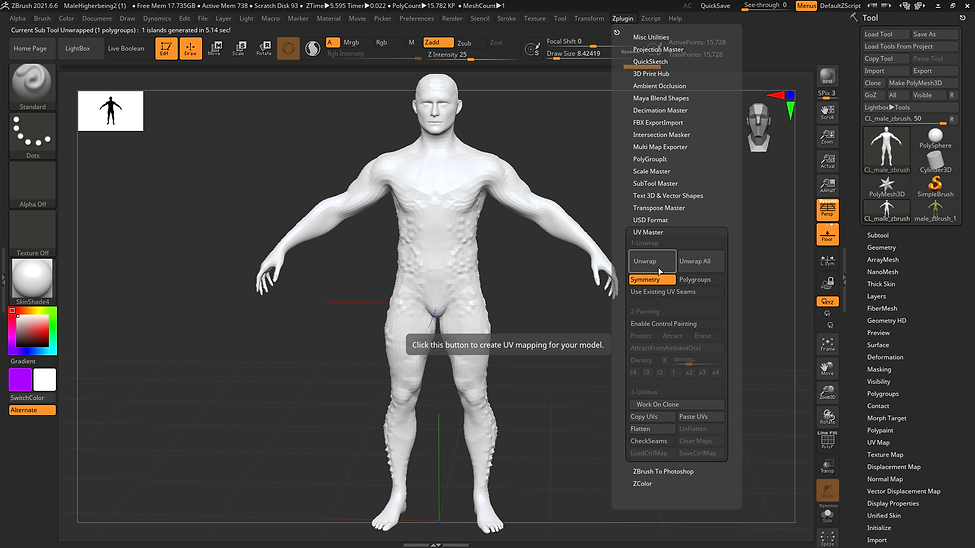
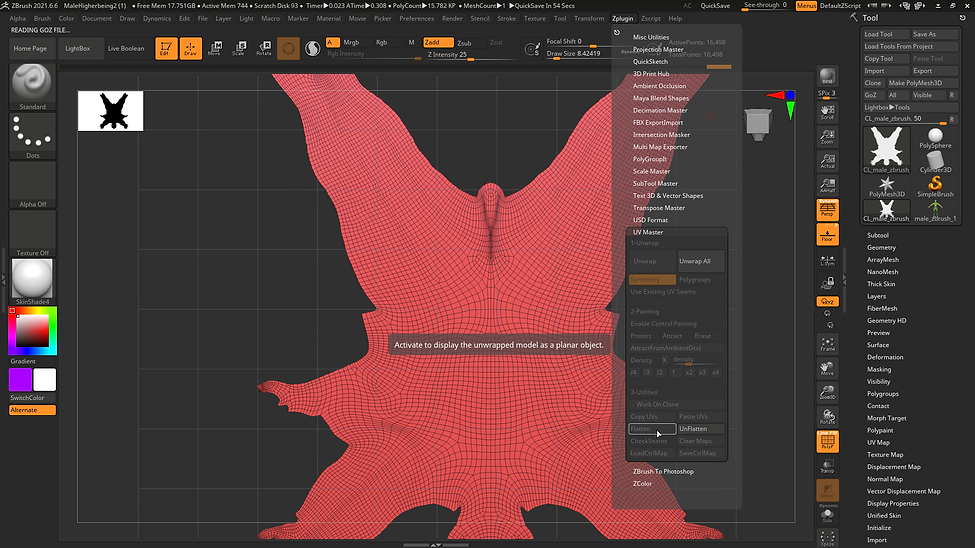
13. Getting out of Zbrush, DyneMeshed,Zremeshed, Then go to ZPlugin, UVMaster and then Unrap
13a...Morph UV to check the final UVMap.
14. Bringing the object to SubstancePainter.

14a. BakeMeshMaps.
15. Texturing and testing!!

16. Texturing and testing!!
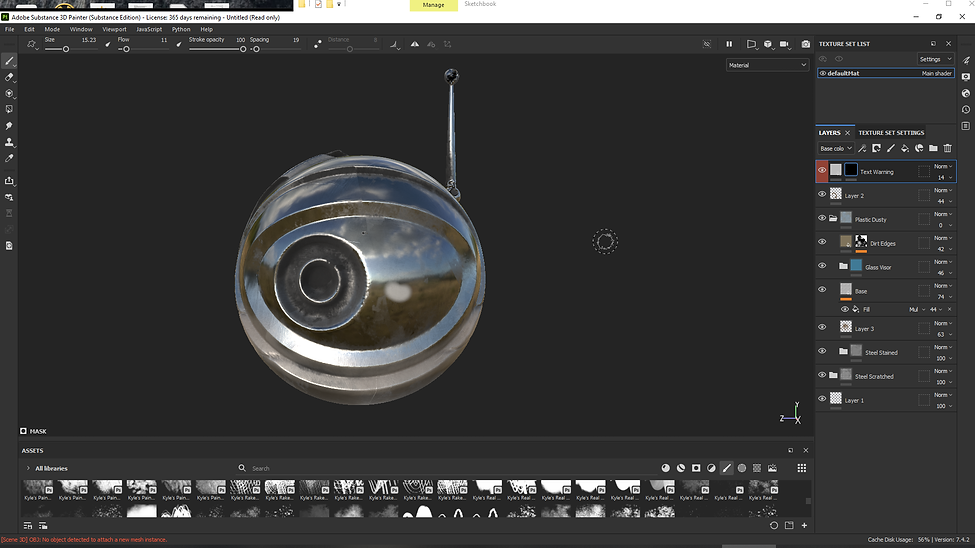
17. Texturing and testing!!

17a. Texturing and testing!!

18. File, ExportingTextures, in the ExportingTextures Settings pick ArnoldAiStandart

19. Imported the Model (obj) to Maya, scaled it up.
%20to%20Maya%2C%20scaled%20it%20up_.png)
19. Imported the Model (obj) to Maya, scaled it up.
Final 1...


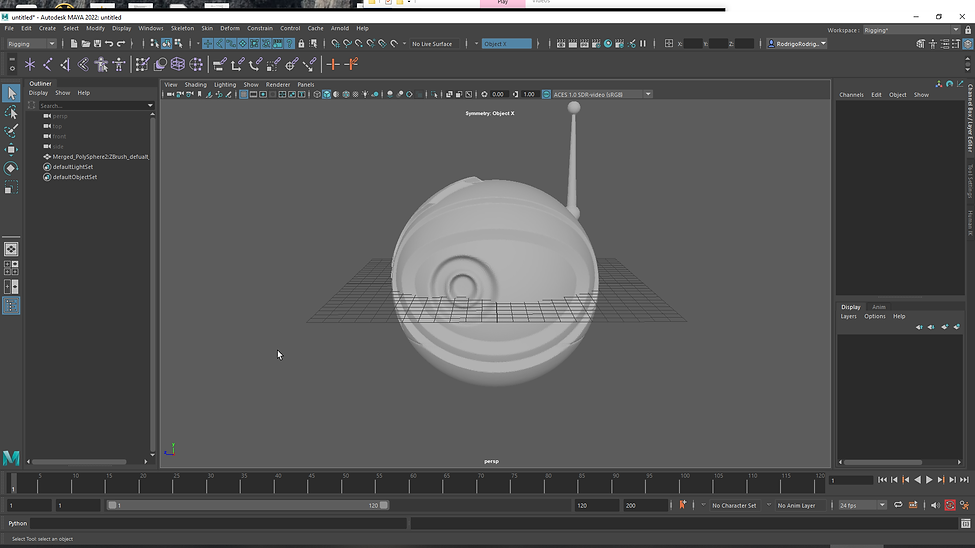
Week 4: HumanIK in Maya. SImple Rig
Ms. Nilly Brook
Overview
This week the lesson covered how to apply the processed data of human movements performed in specific positions sequences in the set environment., called Motion Capture (Mo-cap and or Mocap)
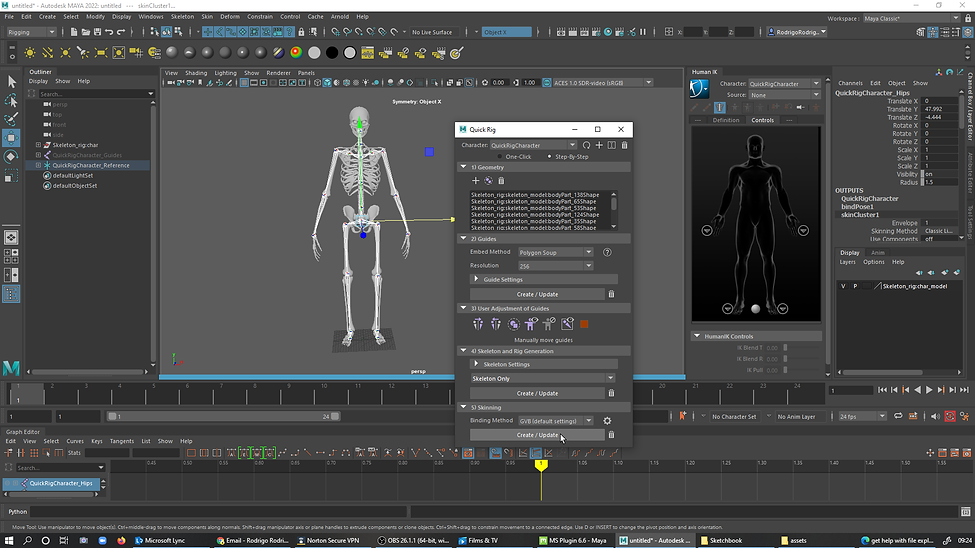
Exercise 1
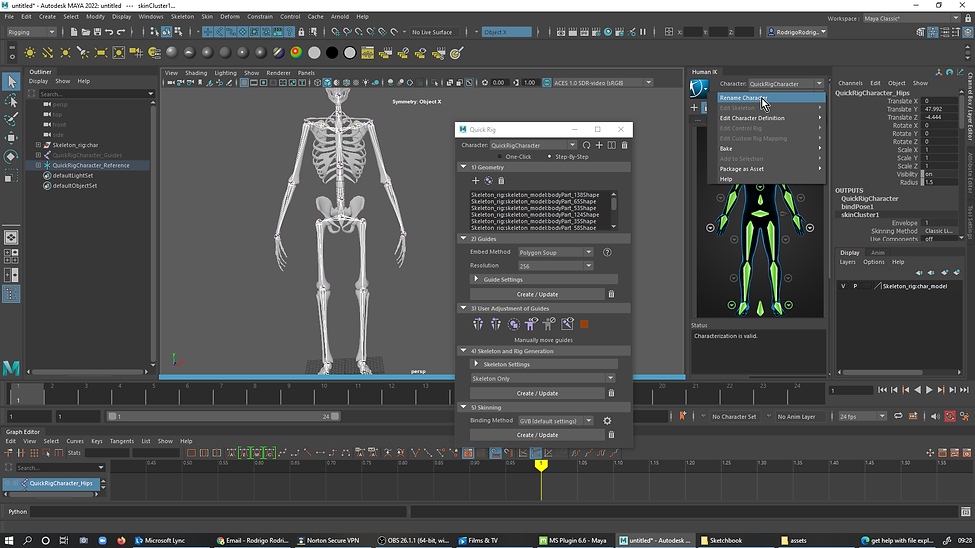
1. ImportCharacter, open the QuickRig, StepByStep, Click the Top +Sign, Select the entire mesh, Step 1)Geometry Click + Sign 2)Guides Select PolygonSoup & CreateUpdate, and then with the translate tool move the joints to the right place...
2. Replacing left joints at the right place and then Mirroring Left to Right in 3)UserAdjustmentOfGuides and then 4)SkeletonAndRigGeneration choose SkeletonOnly.
UserAdju.png)
2a. After creating an update the character rig appears.

3. Step 5)Skinning CreateUpdate.
Skinning%20CreateUpdate.png)
3a. In Definition the character is skinned.

4. Character renamed as Skeleton.
5. Deleting the selected files.

5a. Deleting the selected files.

5b. Deleting the selected files.
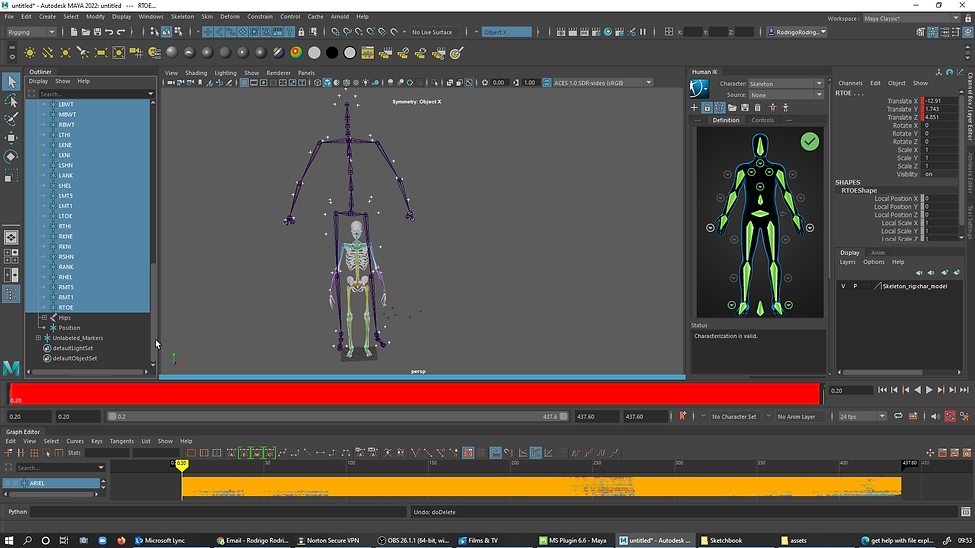
5c. Deleting the selected files.

6. MoveTool selected, click on the rips of the mesh then go to Select, Hierarchy, in ChannelBox with the Rotate Values selected type 0 on RotateZ, and again the same process type 90 on RotateX.
7. Creating the Character Definition.
7a.

7b.

7c.

8.
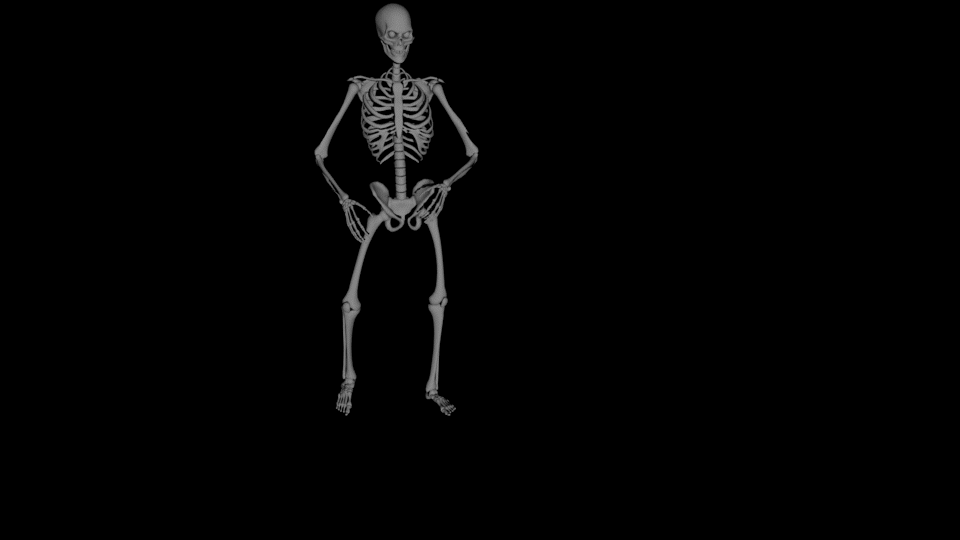
9. Fished and rendered.

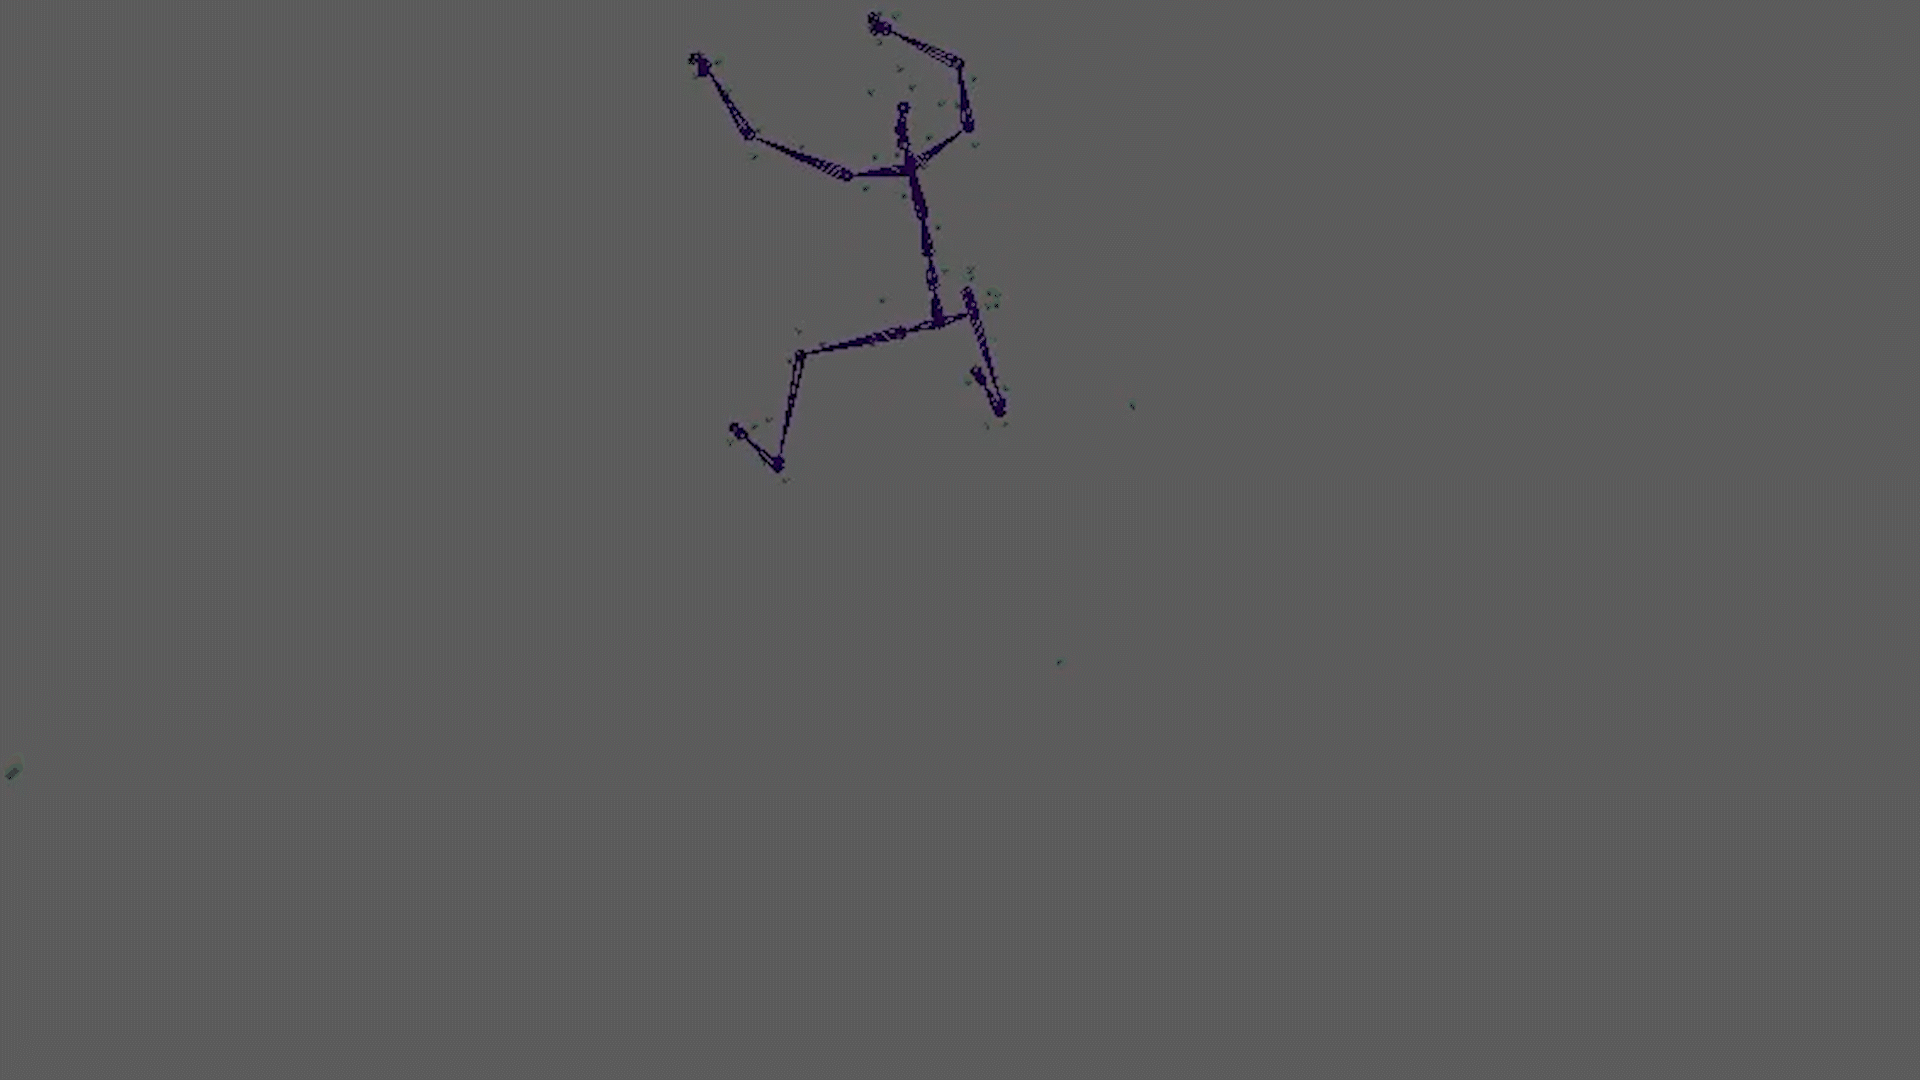
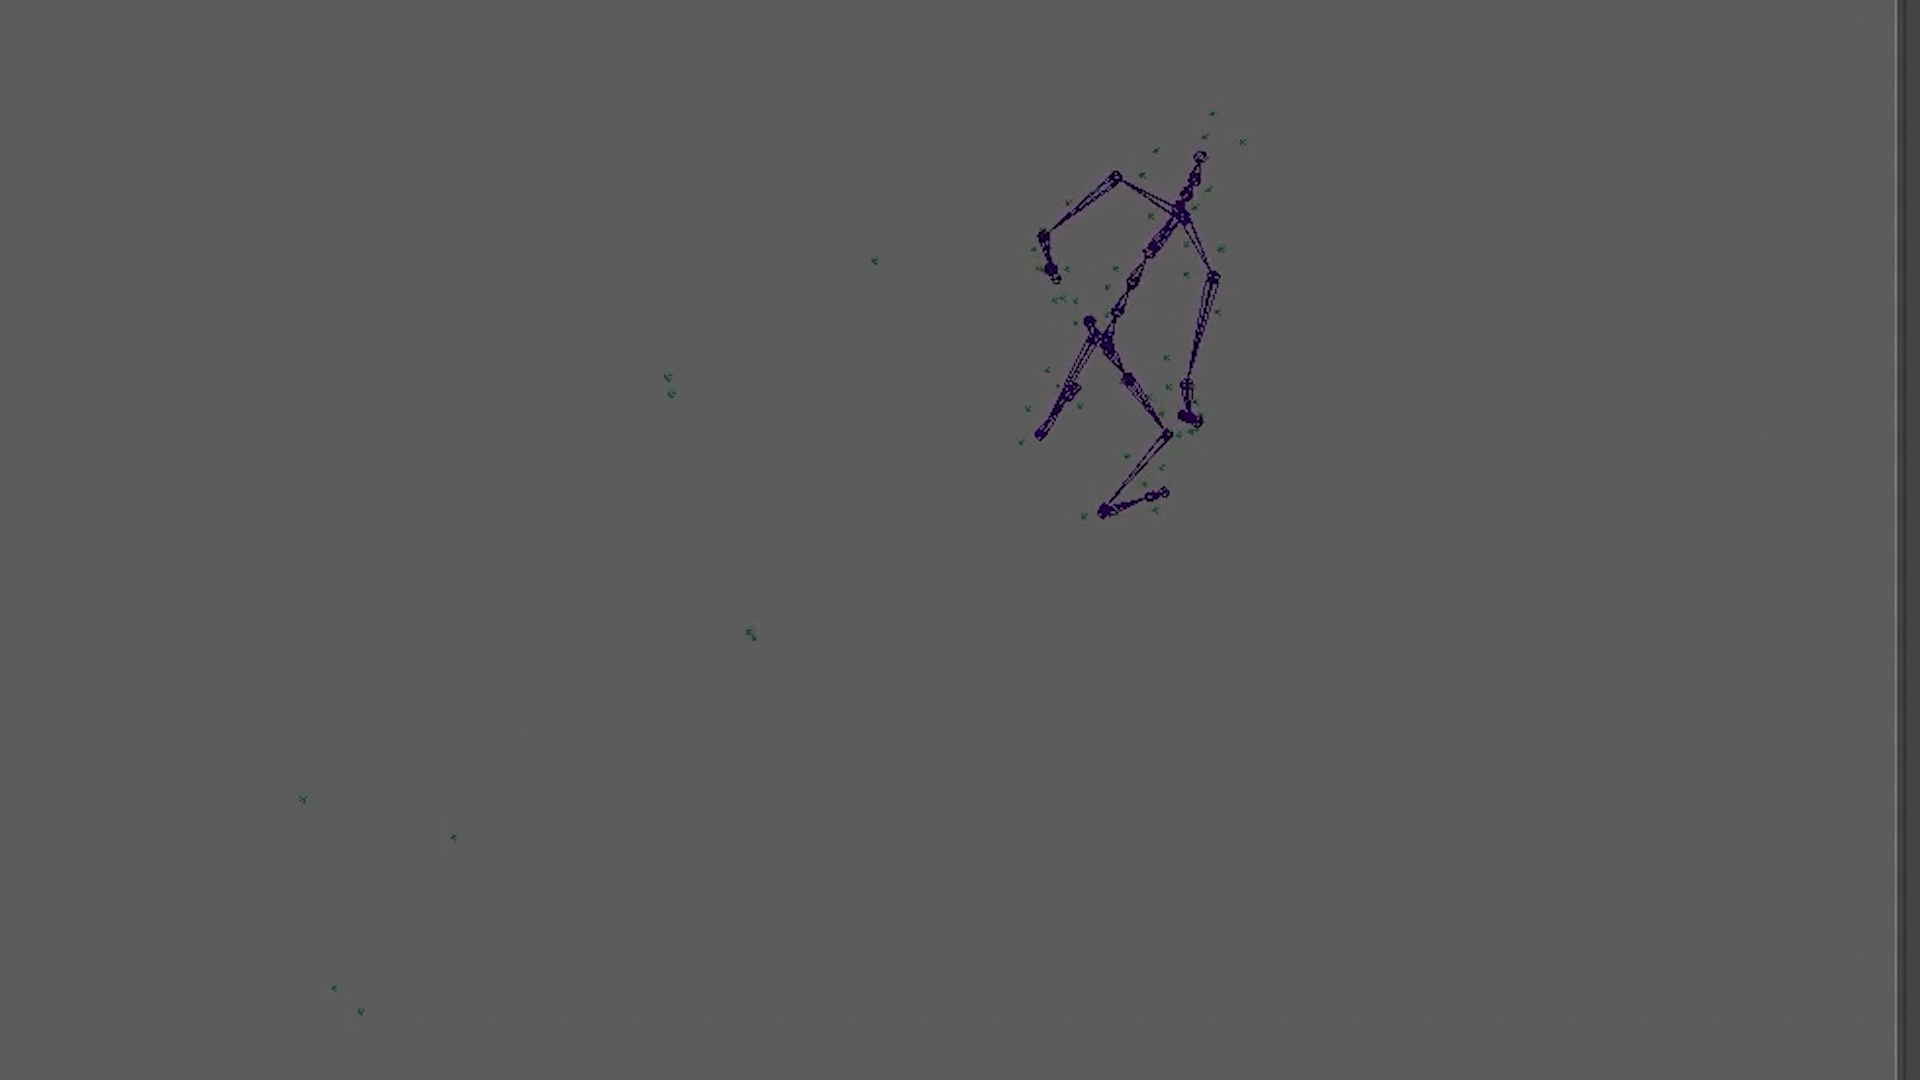
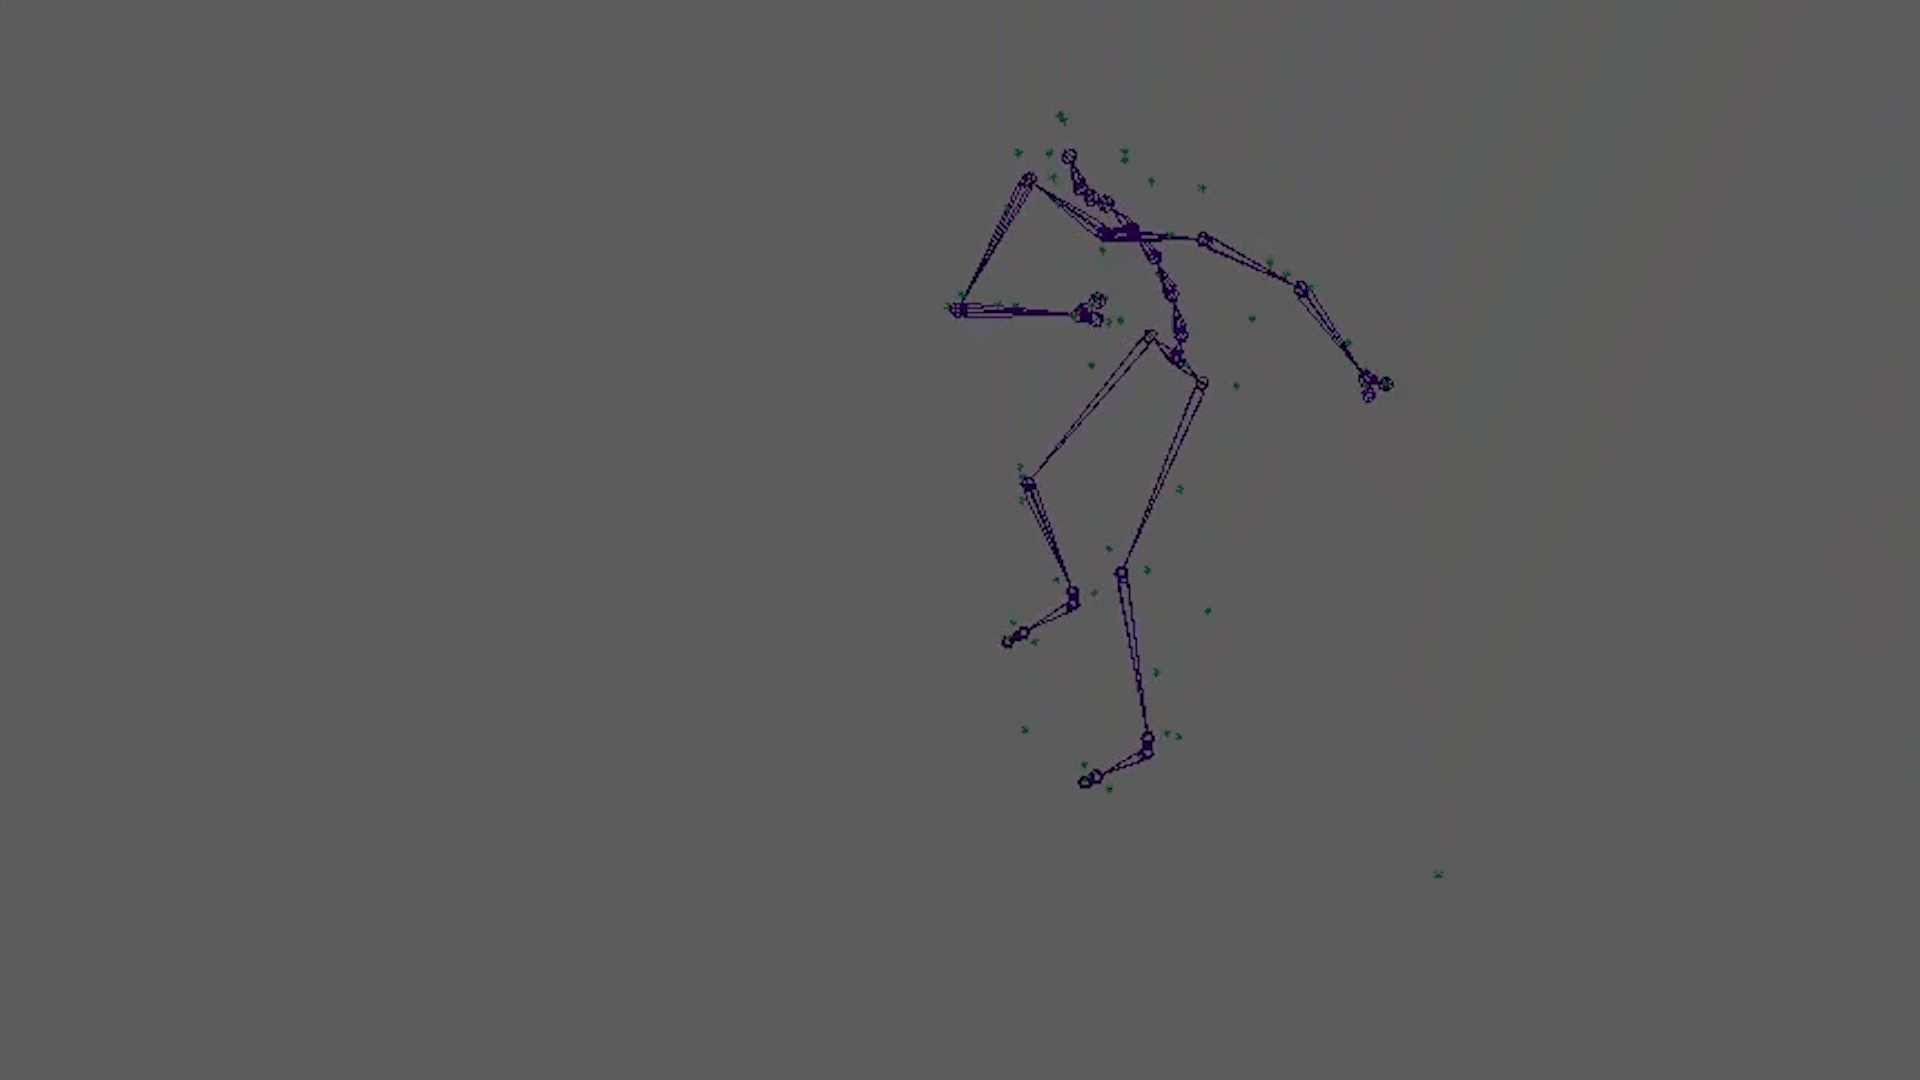
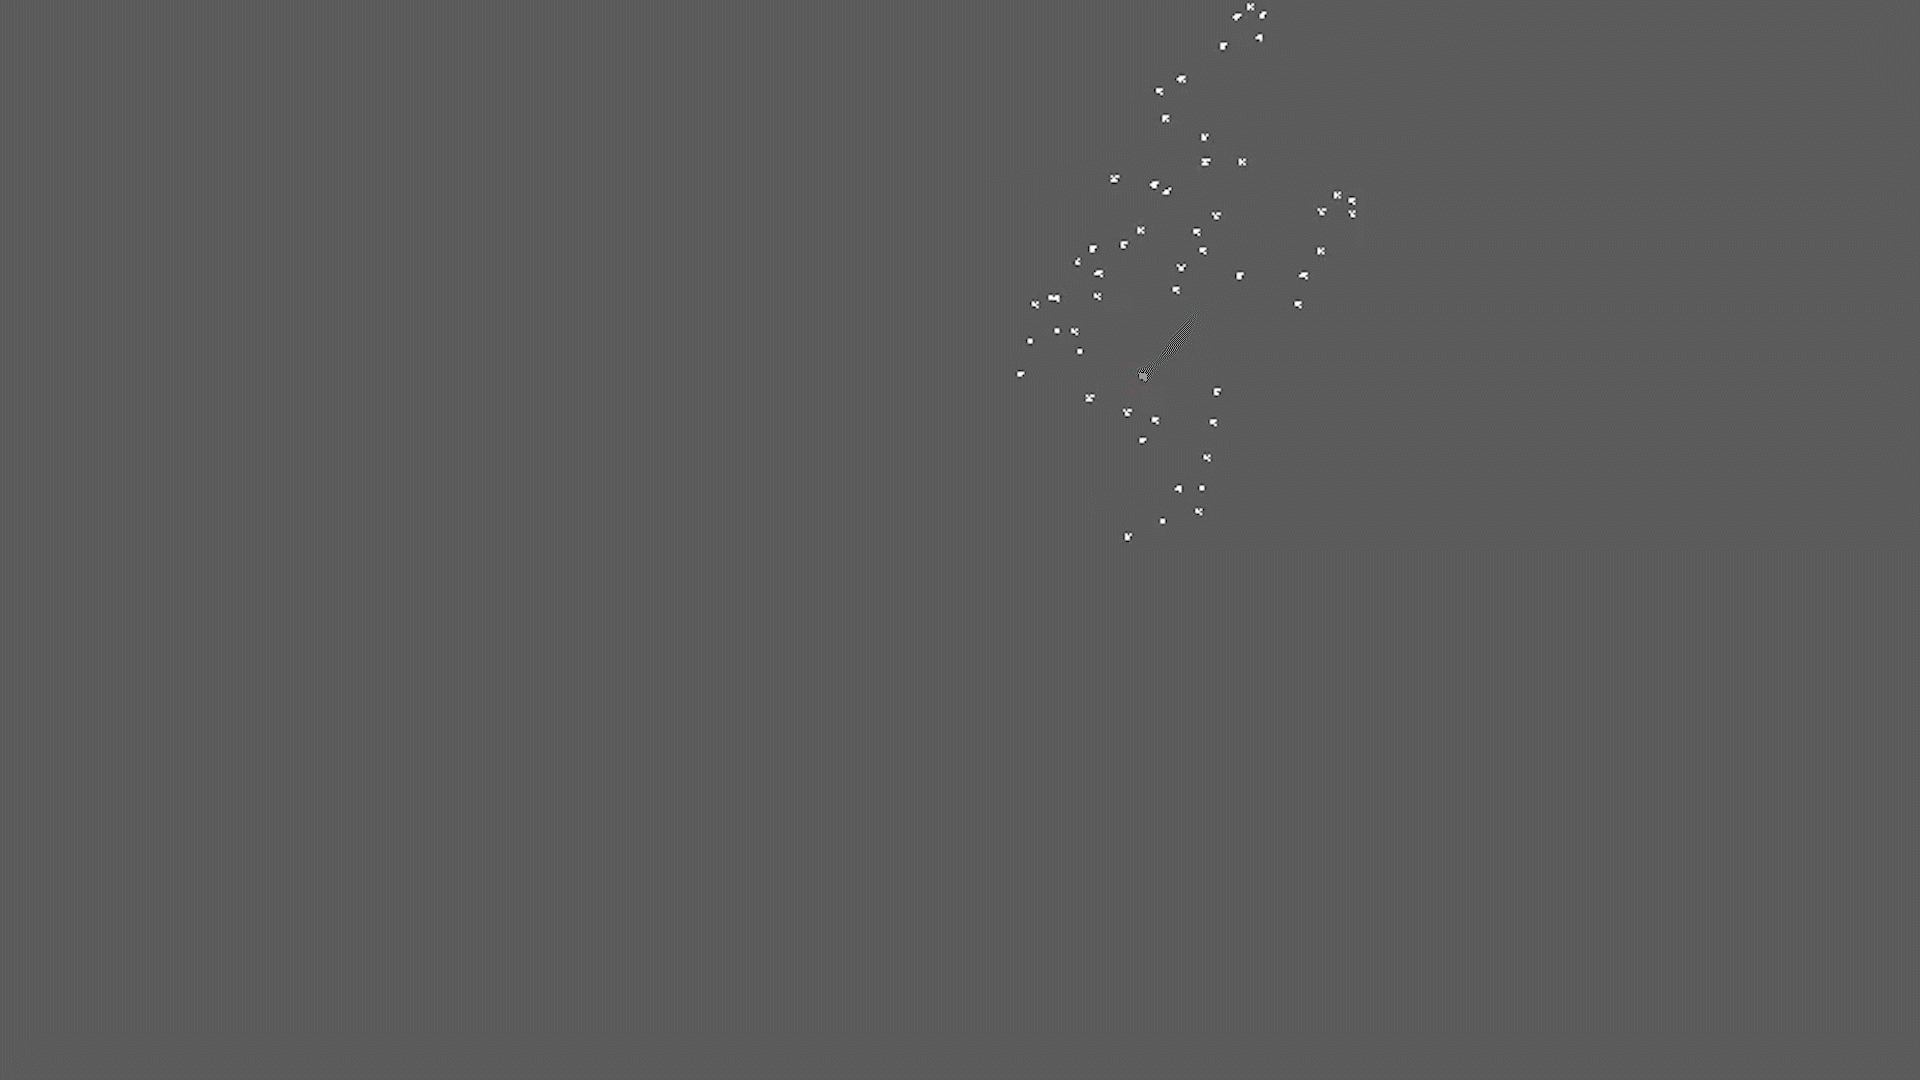
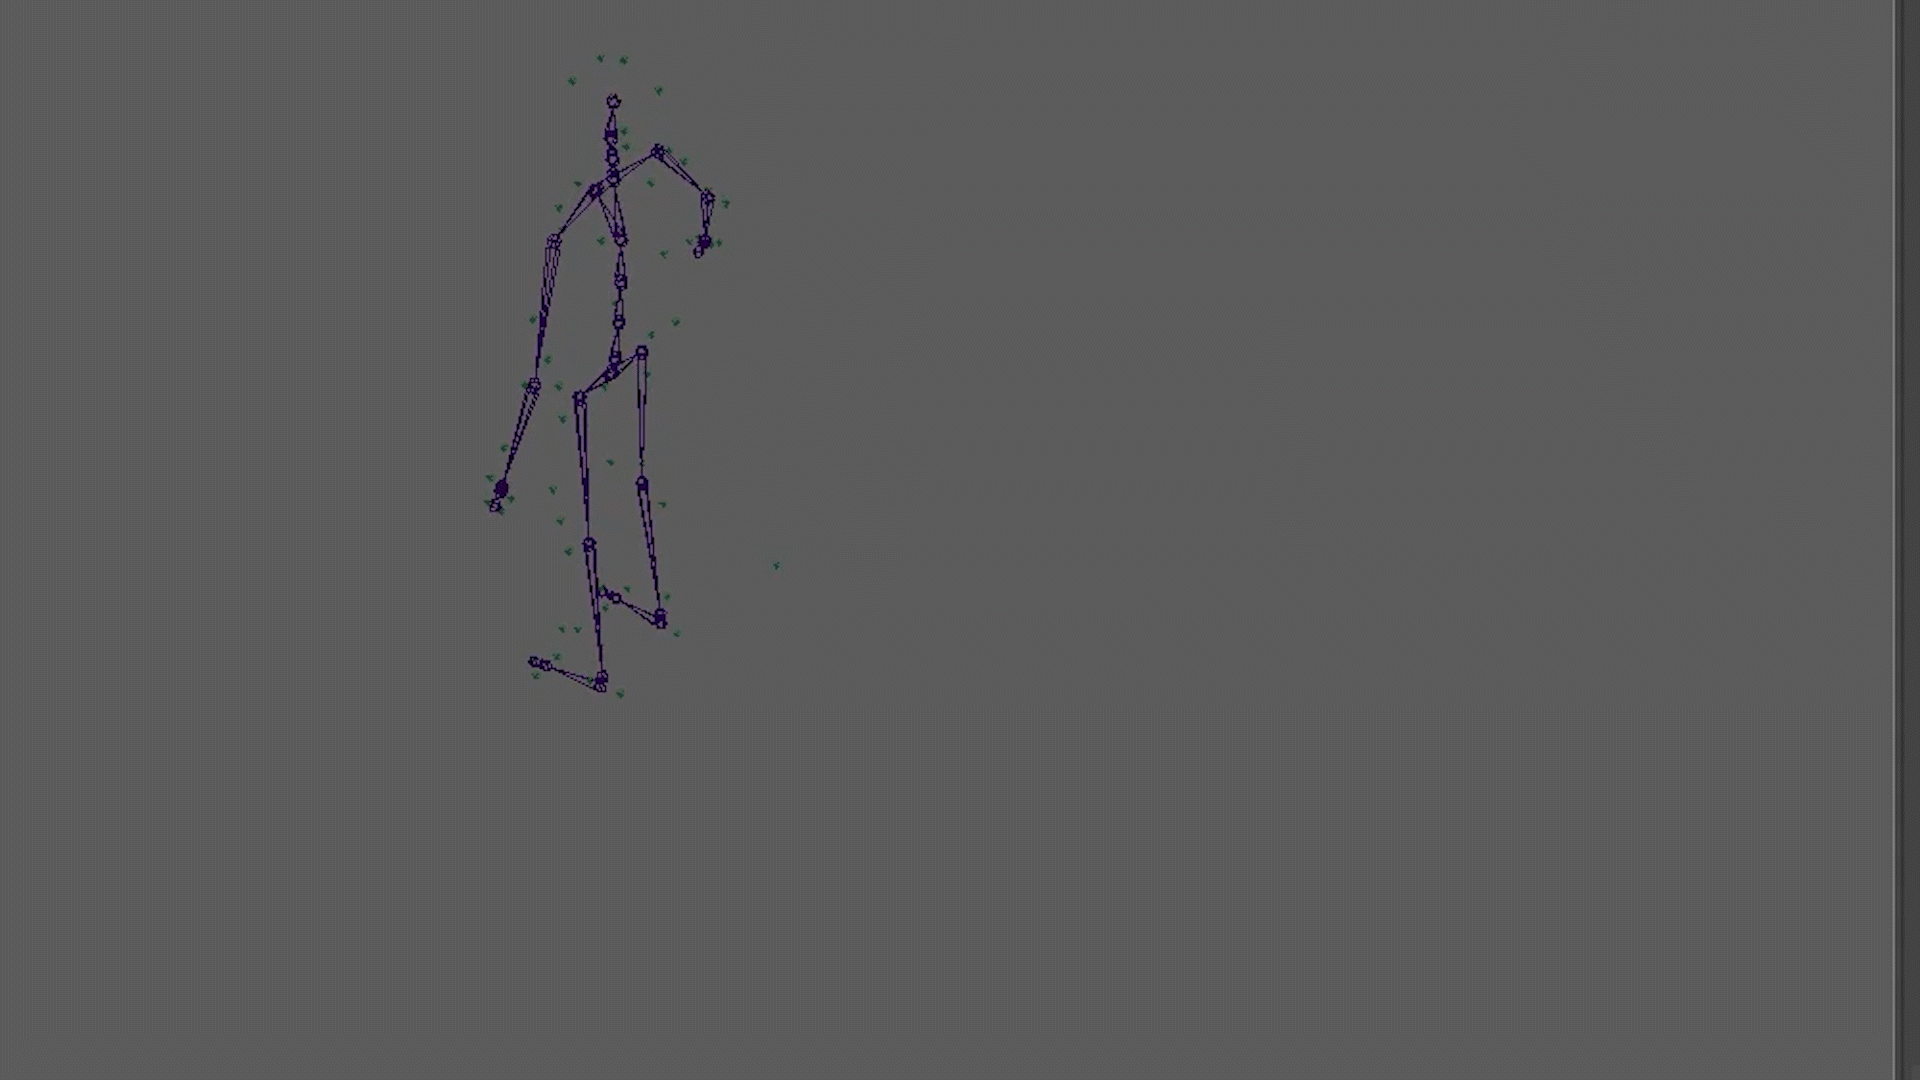
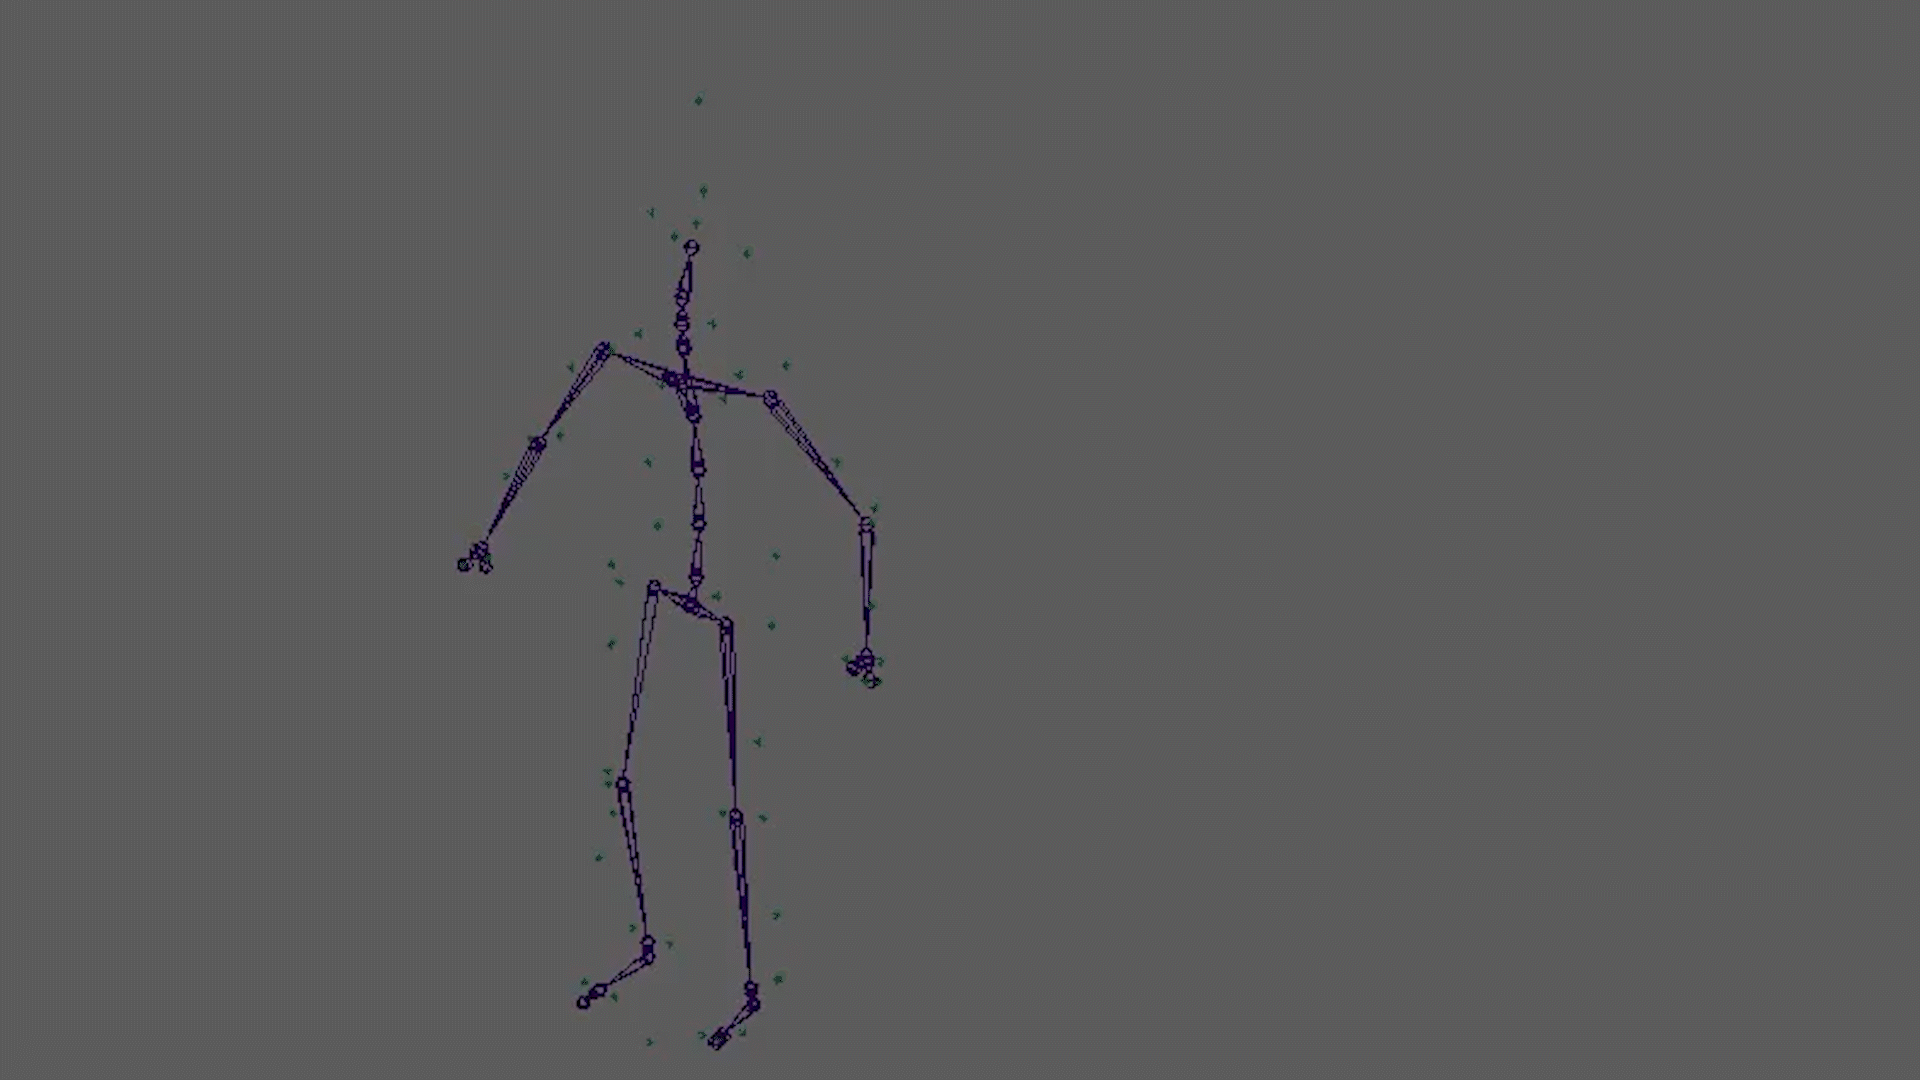
Third completed - The exercise below I also applied one of our MotionCapture on the skeleton once again.
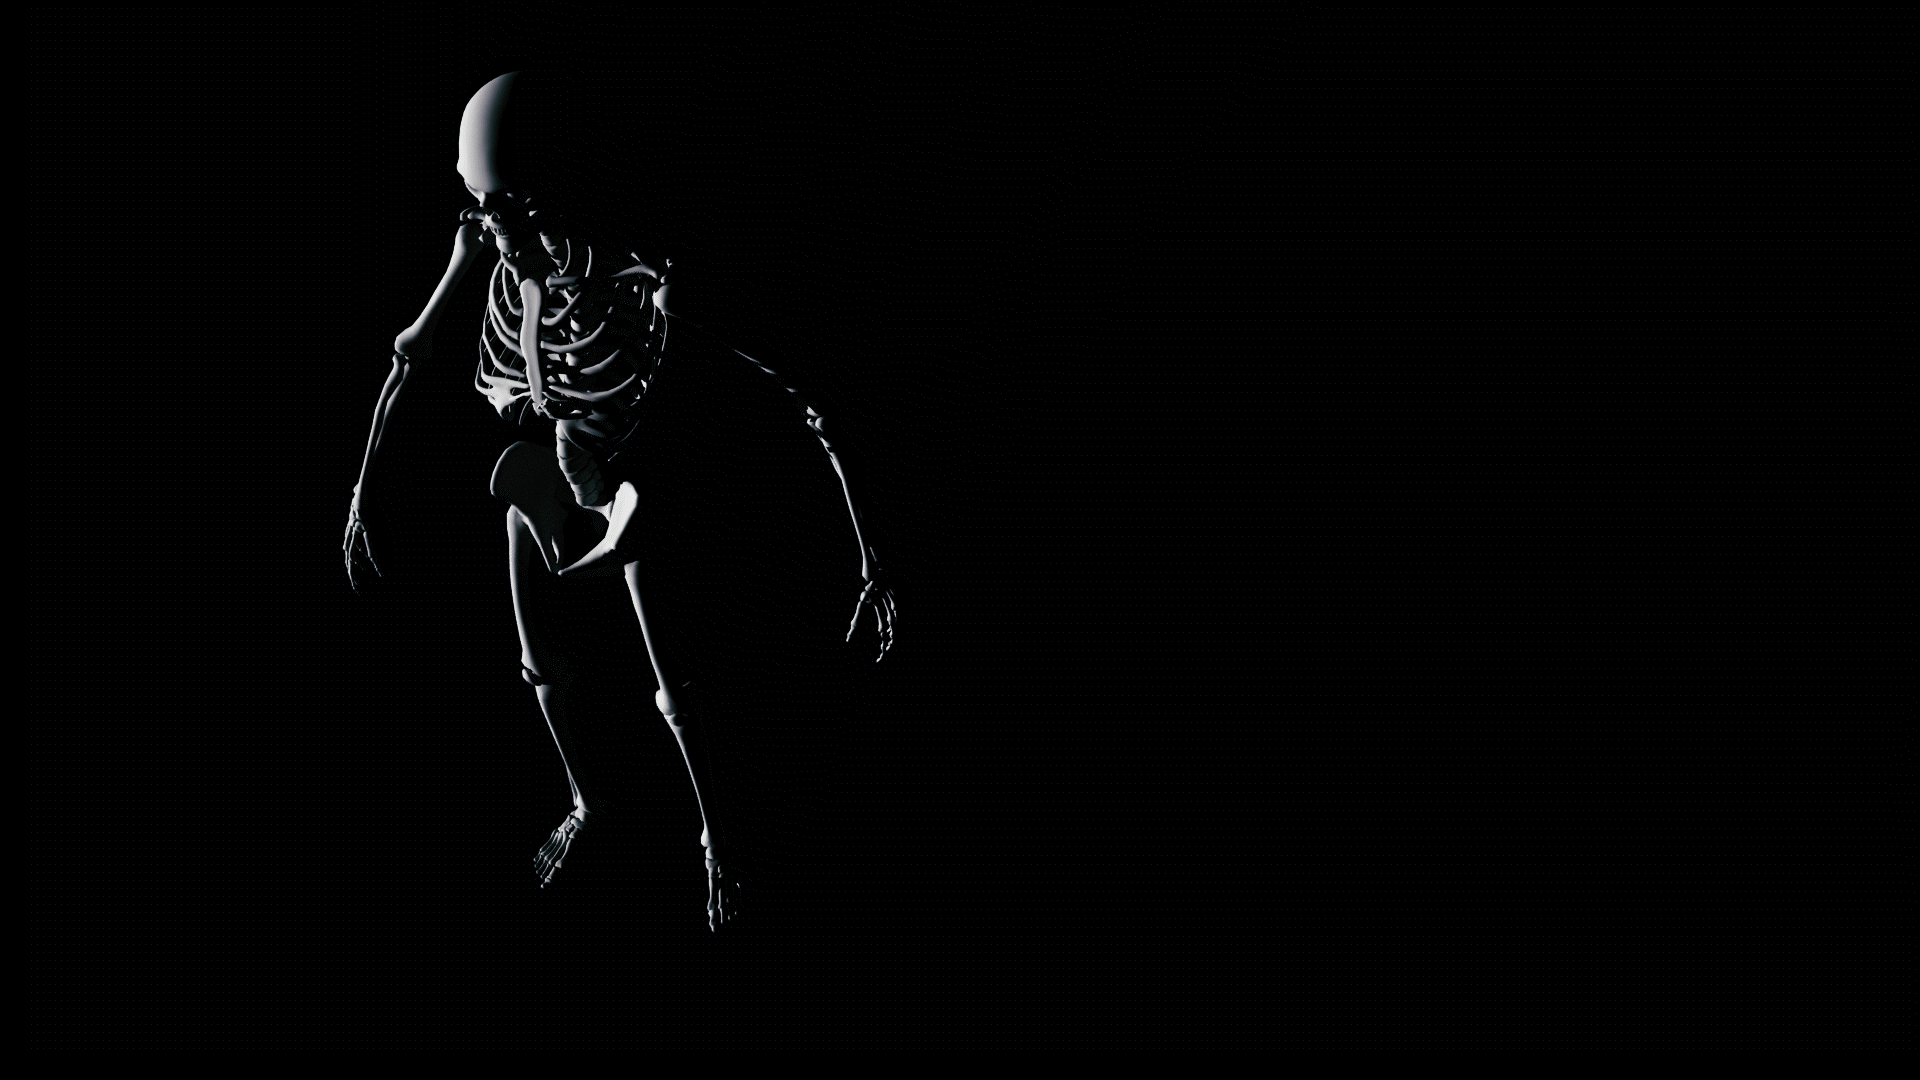
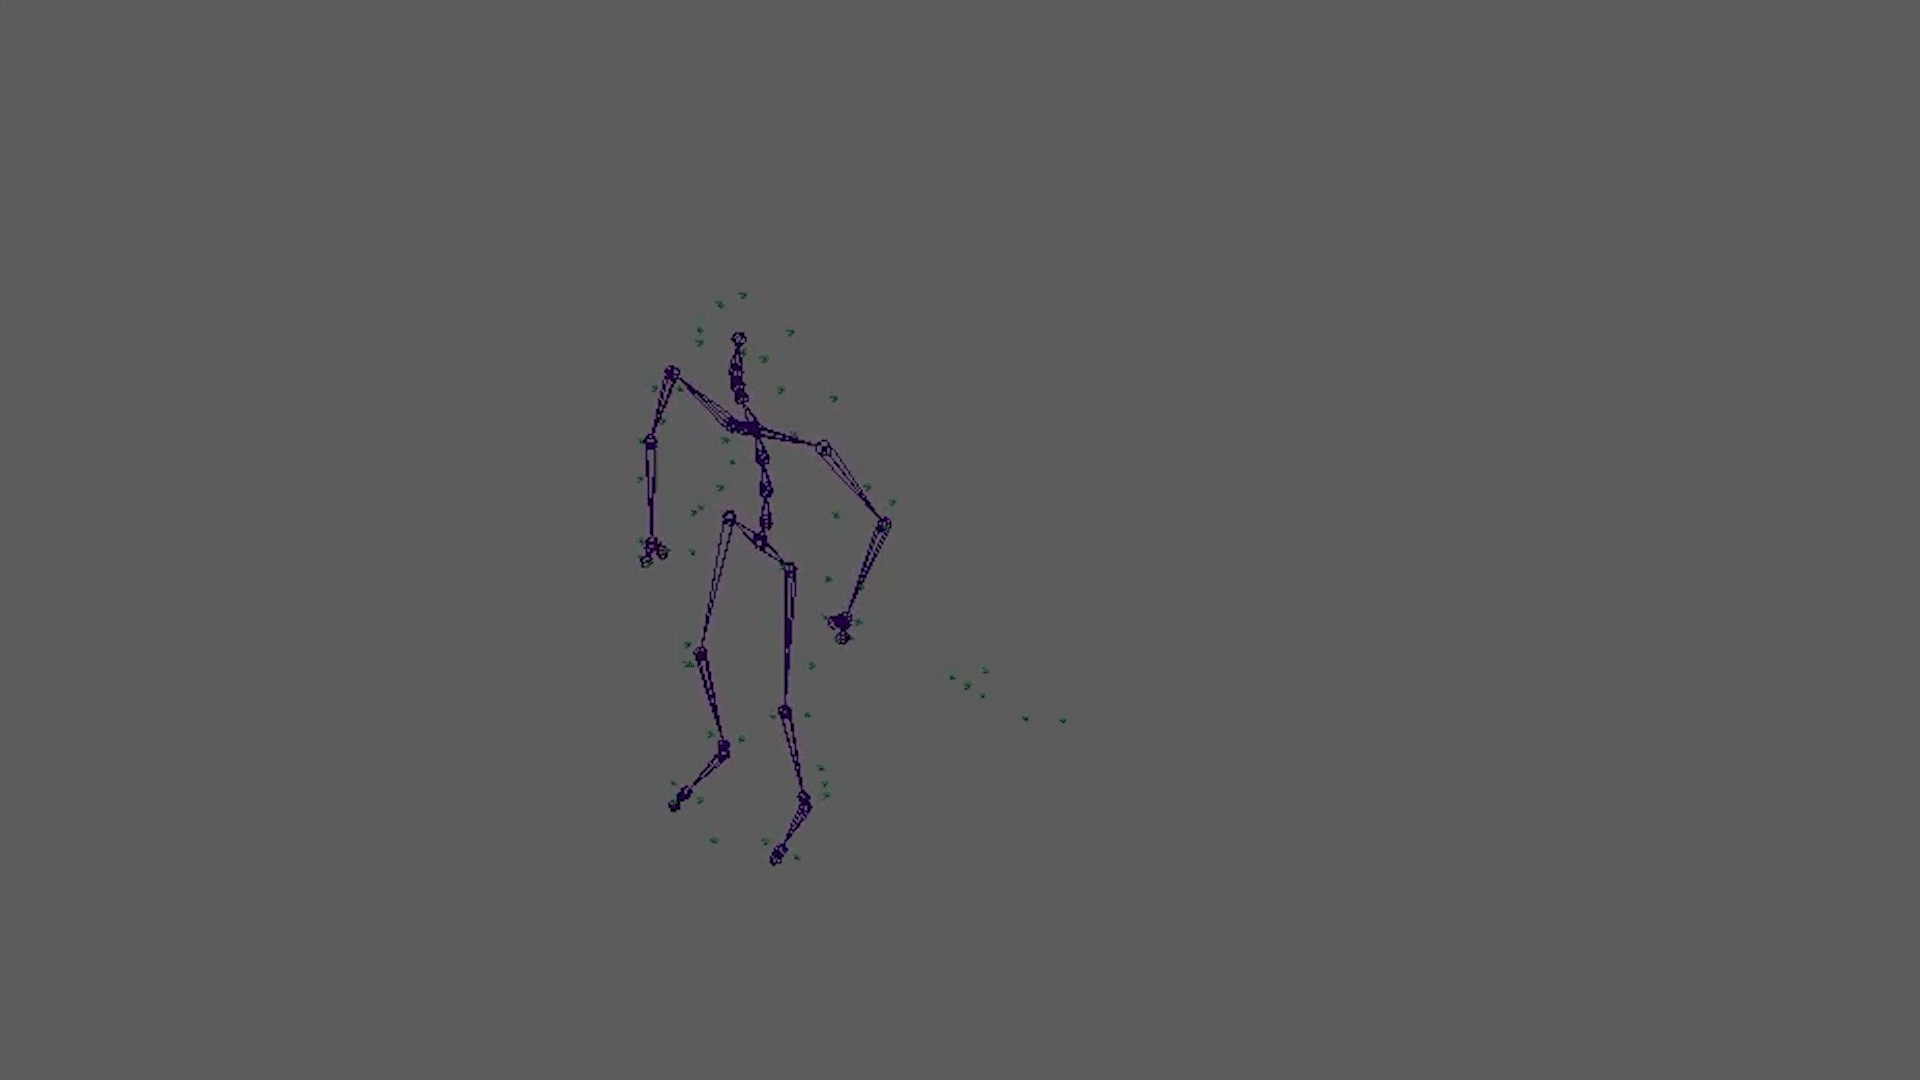
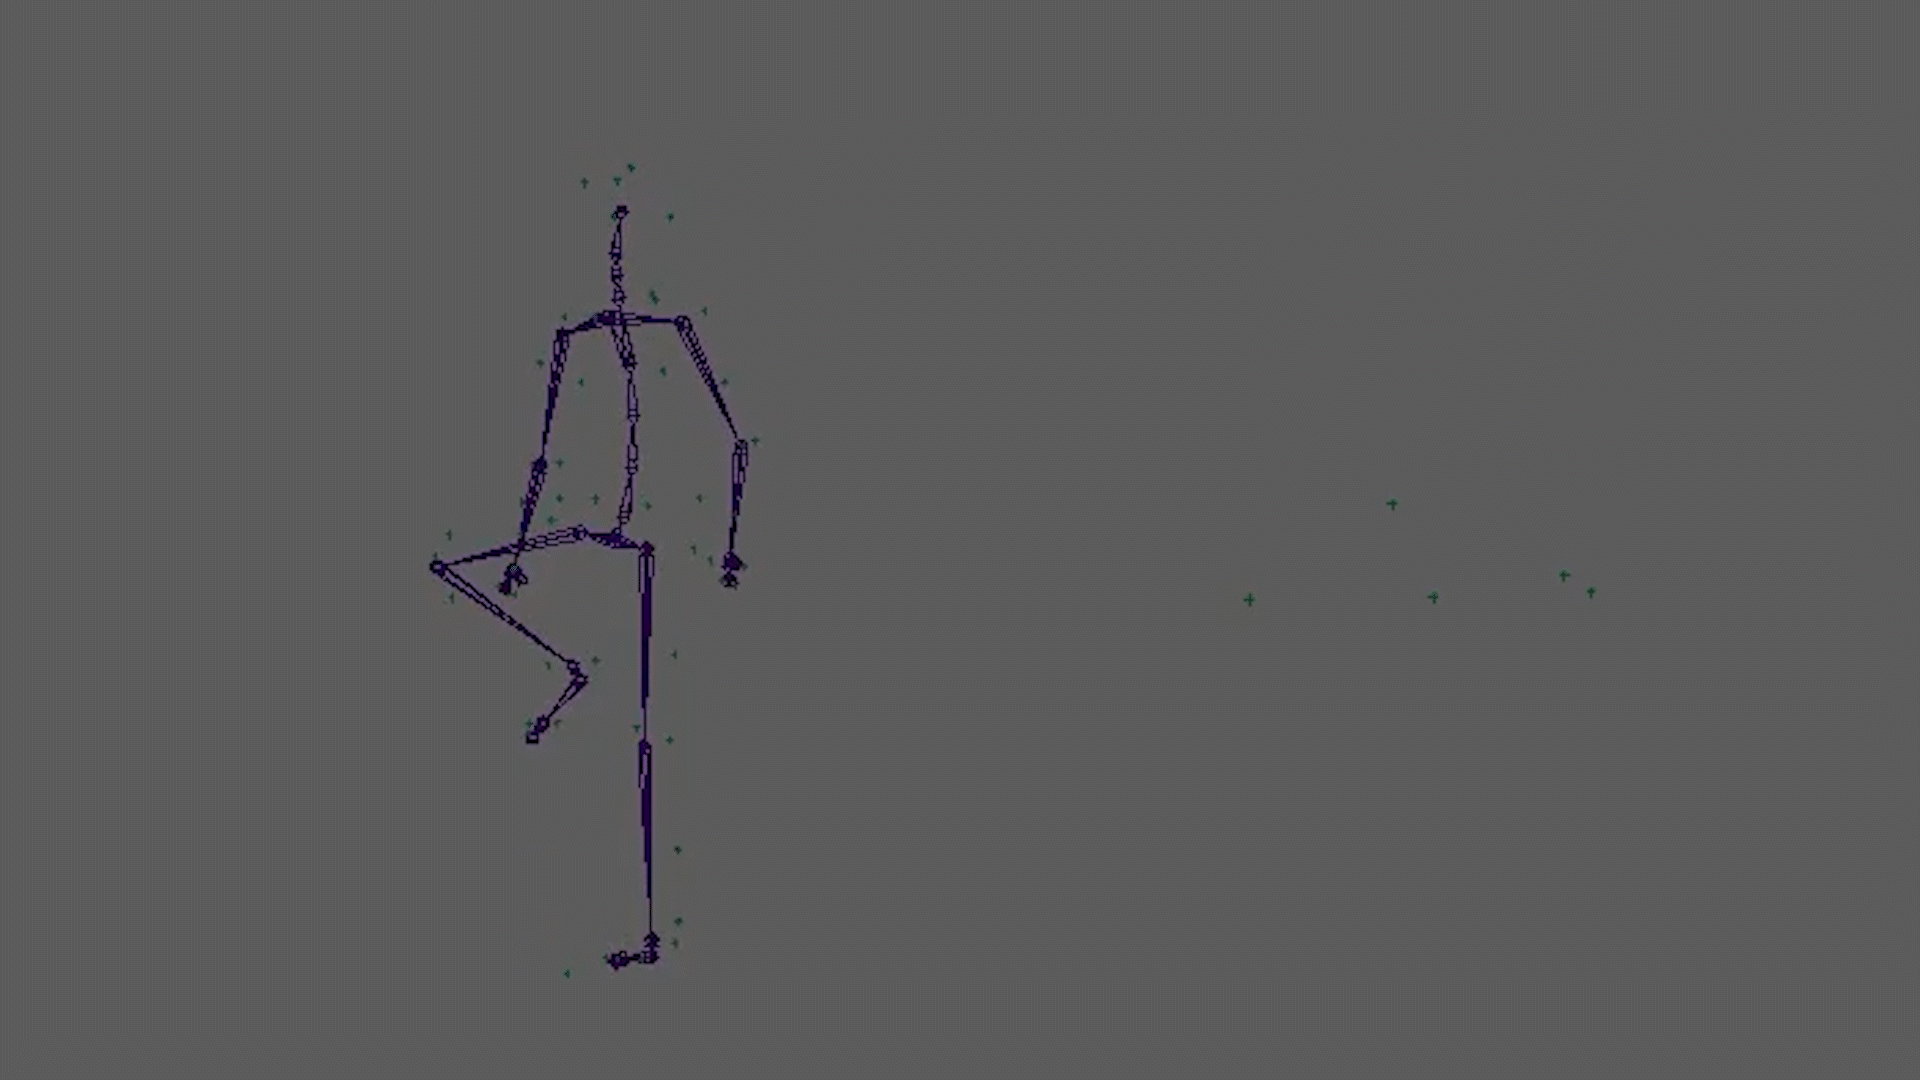
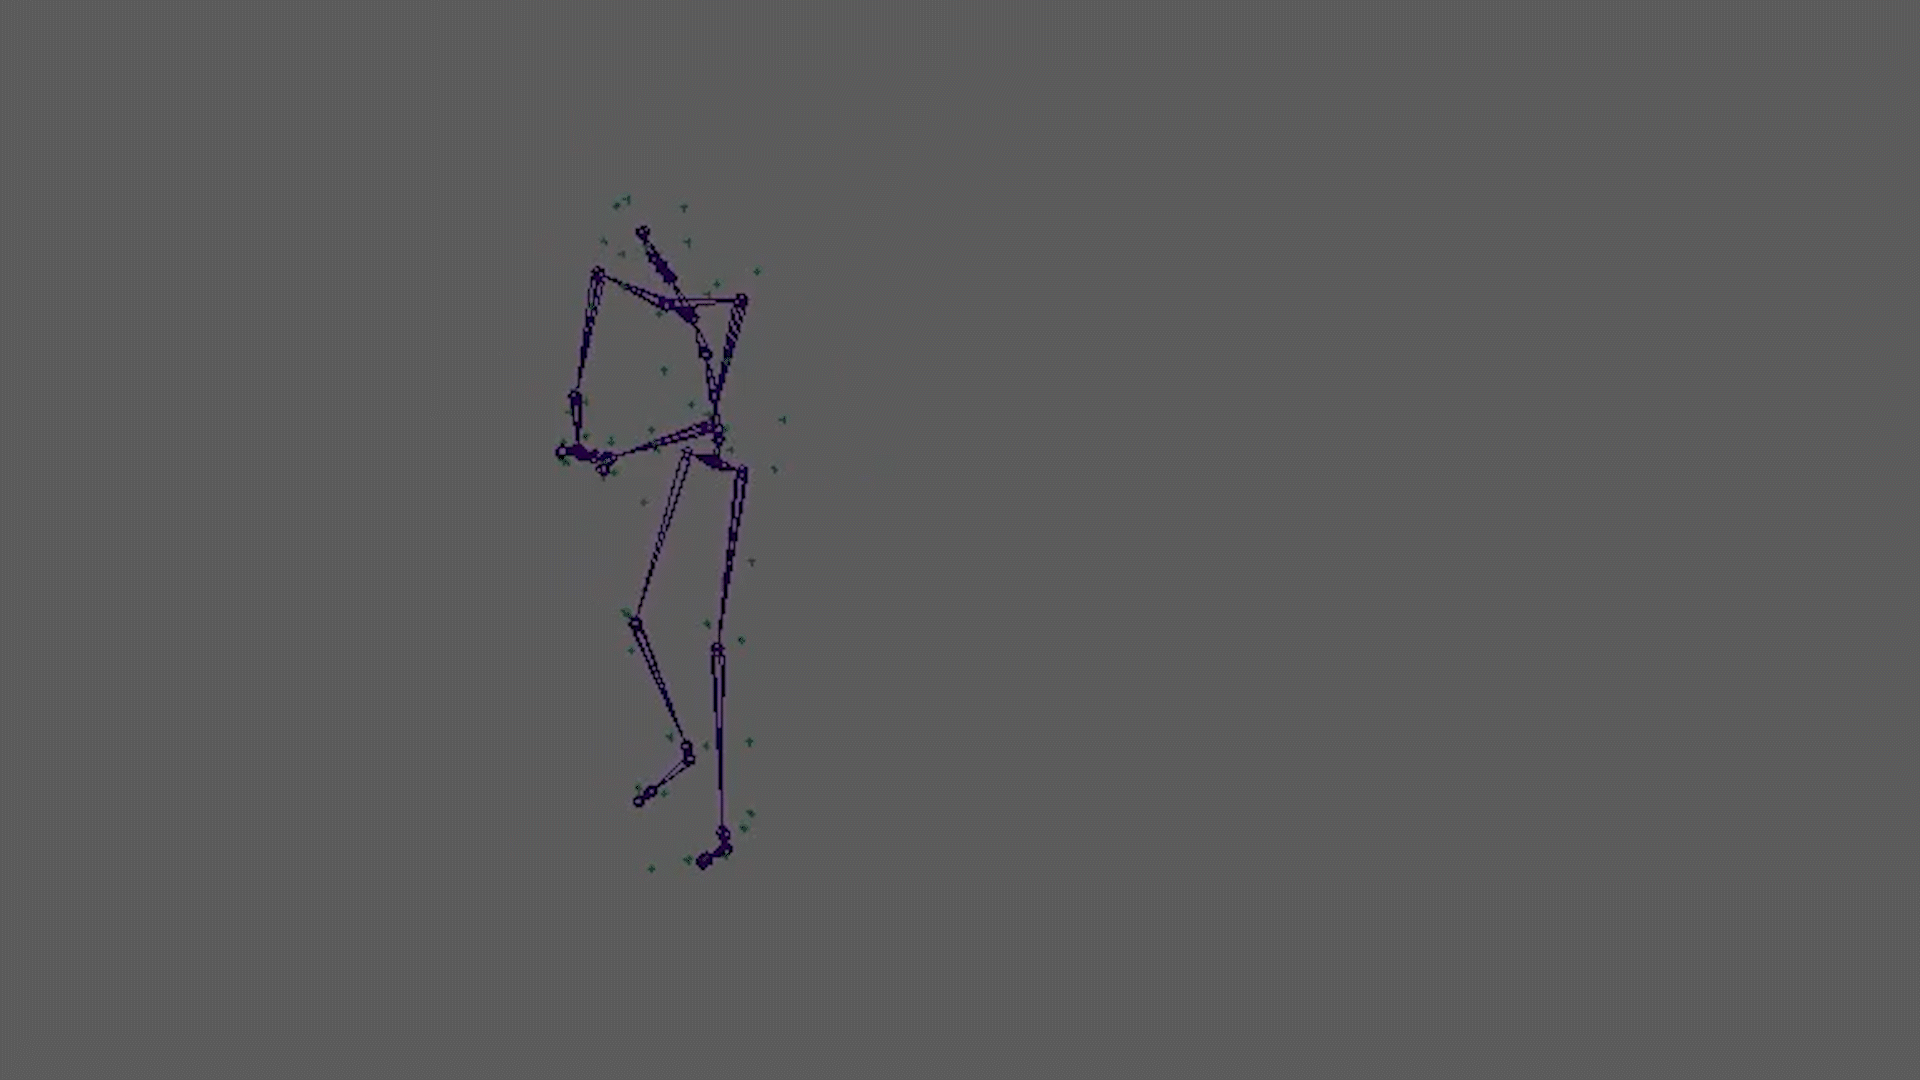
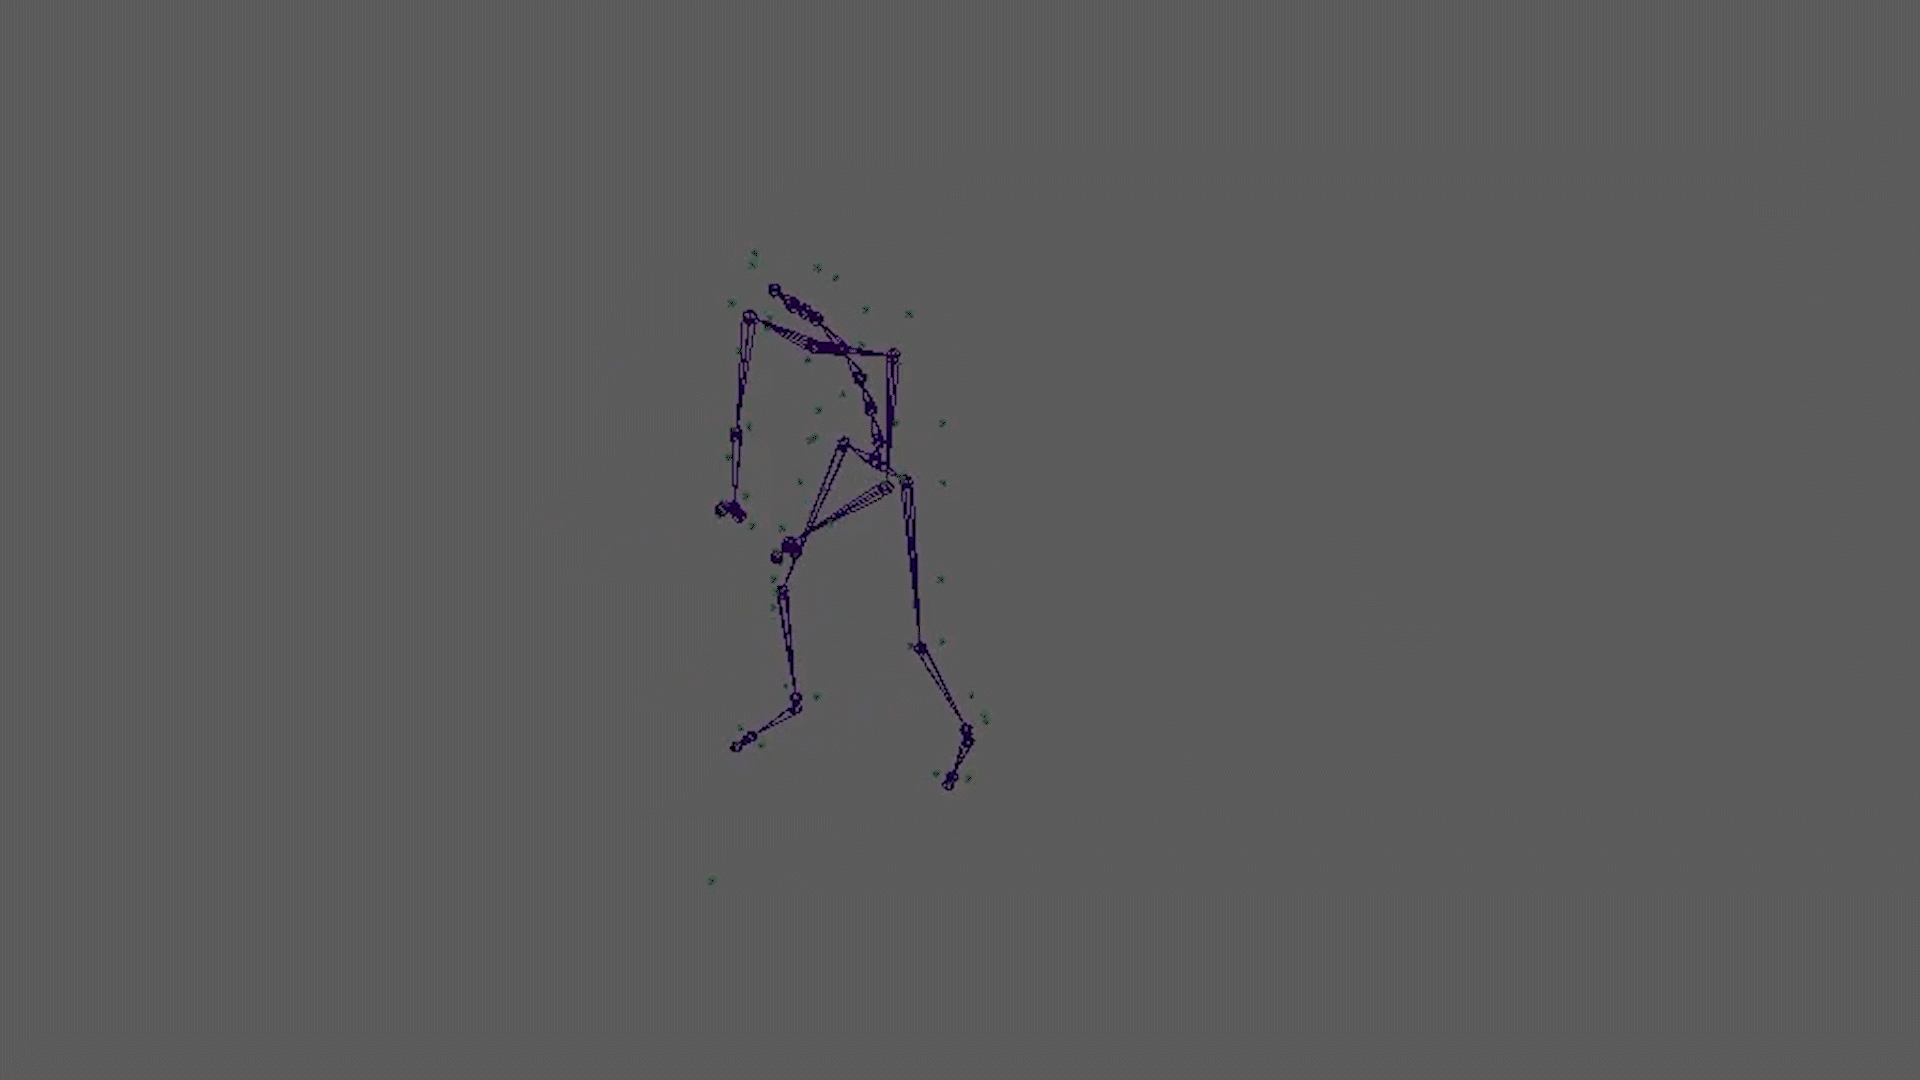
Under the coordination of Angus and James, our group experienced how to capture human motion, using the MotionCapture Suit. The idea in this day was just to capture the movements and not the visual appearance.
Below are the movements created by or group. Arash, Rocco, and I.
Week 5: Substance Painter Workshop
Ms. Jay Won Shin
Overview
This week the lesson covered ...
Exercise 1 - Working with ...
7c.


Week 6: ZBrush to Maya Pipeline- Recap
Ms. Nilly Brook
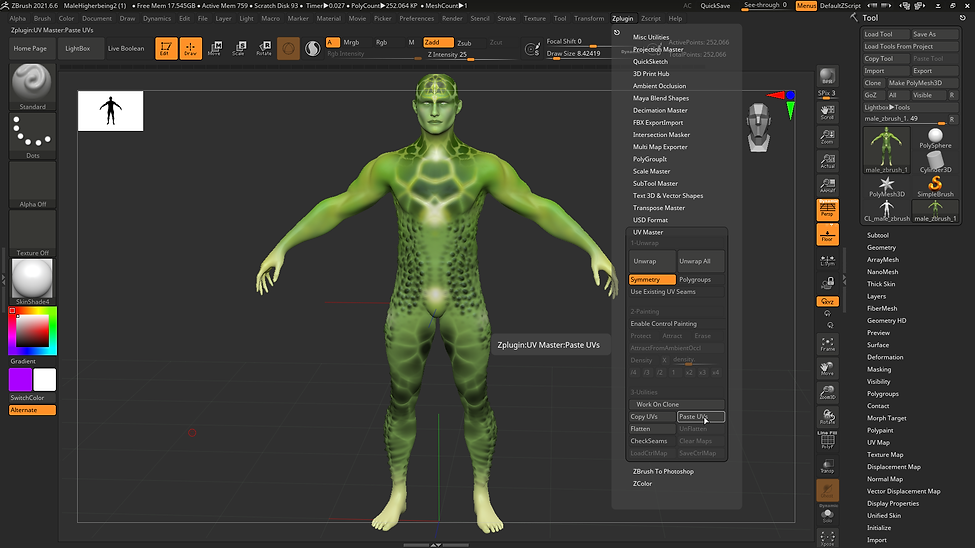
1. After texturing mesh from Zbrush complimentary sculpture, using different brushes ZPlugin,WorkOnClone...

1a.

2. Unwrap
3. Flatten and Unflatten it to see and unsee the UV.
.png)
4. Copy the UVs.

5. Set Original male model.

6. Paste the Uv.
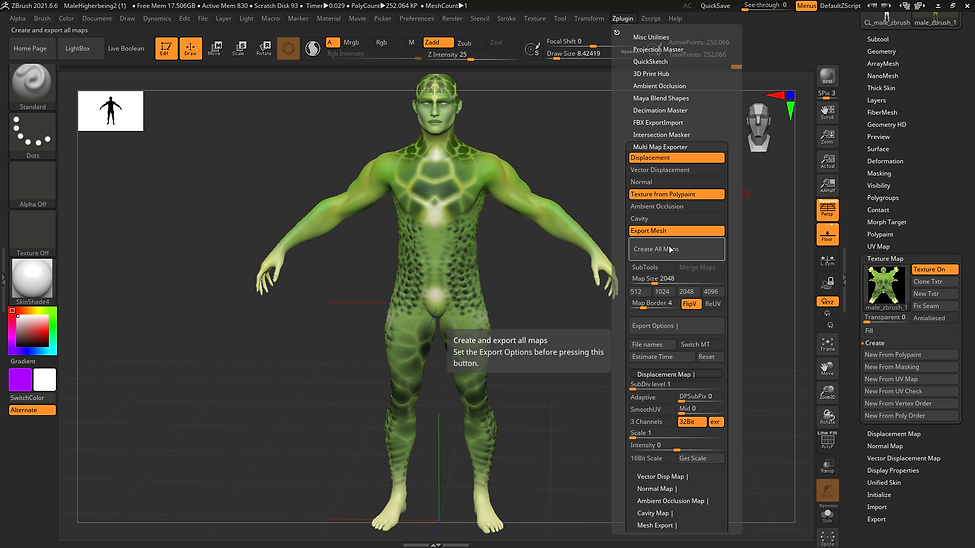
7. It can be checked in Texture Map but It will be done in other way at the Zplugin.

8. Zplugin, Turn on Dispplacement, TexturesFromPolypaints and ExportMesh. Tehn in ExportOptions Mid default 0.5 to 0, select 32Bit and exr,then Create alMaps
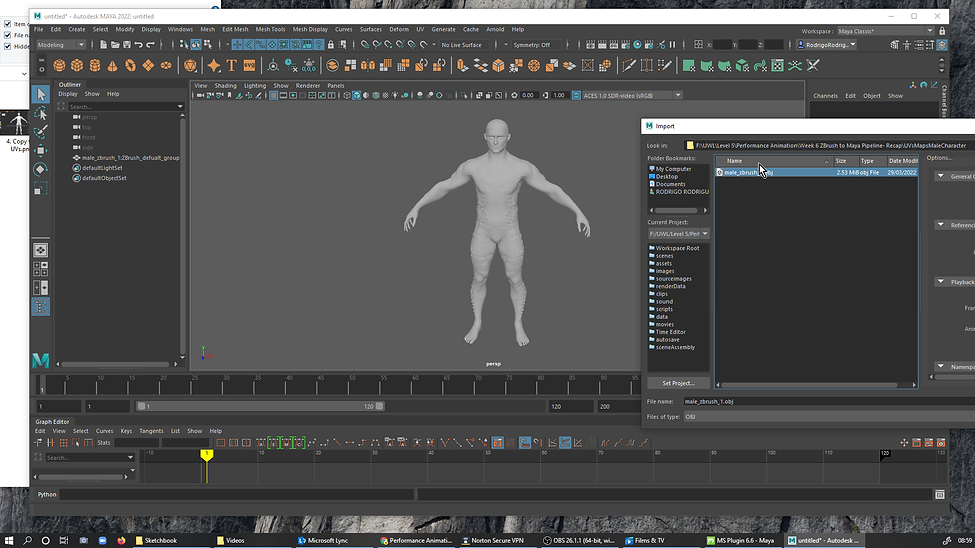
9. Importe Obj Male Character to Maya
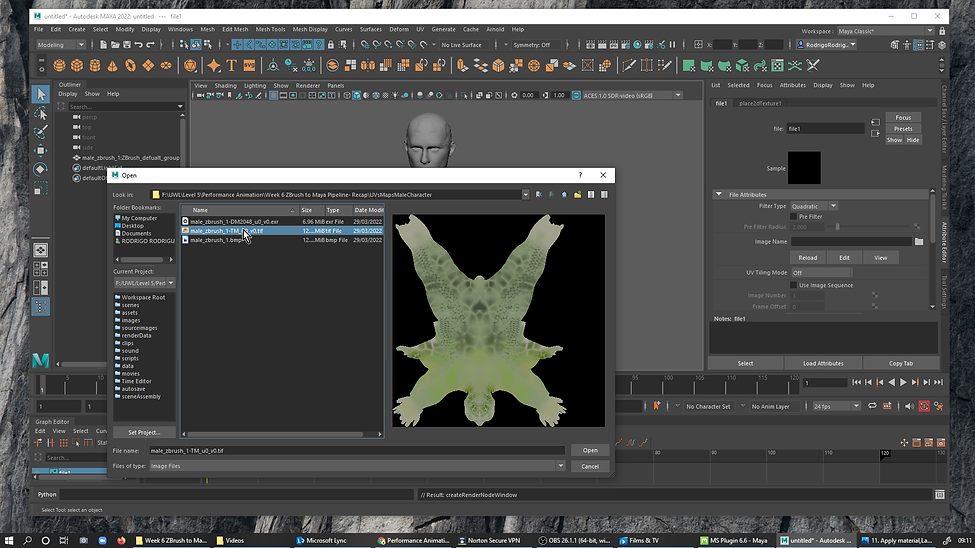
10. Check my UV in the top workSpave. bringing the UVEditor

10a. SSelecting the Mesh to see the UV.

11. Apply material,Lambert

11a Then File.

11b. in the folder go to import the Tif file.


assignment 01: Motion Capture preparation - Character Development
Ms. Nilly Brook


assignment 02
Ms. Nilly Brook