Overview of Nuke
This week an overview of Nuke where introduced, the basics of the viewer window, time line including in and out points, the projects settings information’s in the viewer (Bottom), Gama and Gain control de exposure of the image (top viewer). Also, showing the Node Graphs and adding more nodes to the project.
Setting project directory
Each section, the projects will be at the desktop. A folder called Nuke_Overview where downloaded from blackboard to the desktop.
Now with my Nuke 13.0v1 open and before bring any Nuke Comp script, Press S in the Keyboard to set up the project settings. Pressing the `Script Directory` folder in project settings box and search to Nuke_Overview folder saved to the desktop and press open not going in to any of the folders. With the project directory set which is very similar to Maya, to have it all in specific folders, to be a where when to move files around, and then, go to Files, Insert Comp Nodes, navigates to the Nuke_Overview folder saved to the desktop once again, click in the nuke_scripts, and choose the folder, and click open.
To view the image on the viewer window click and press 1 in the keyboard.
Rodrigo Rodrigues
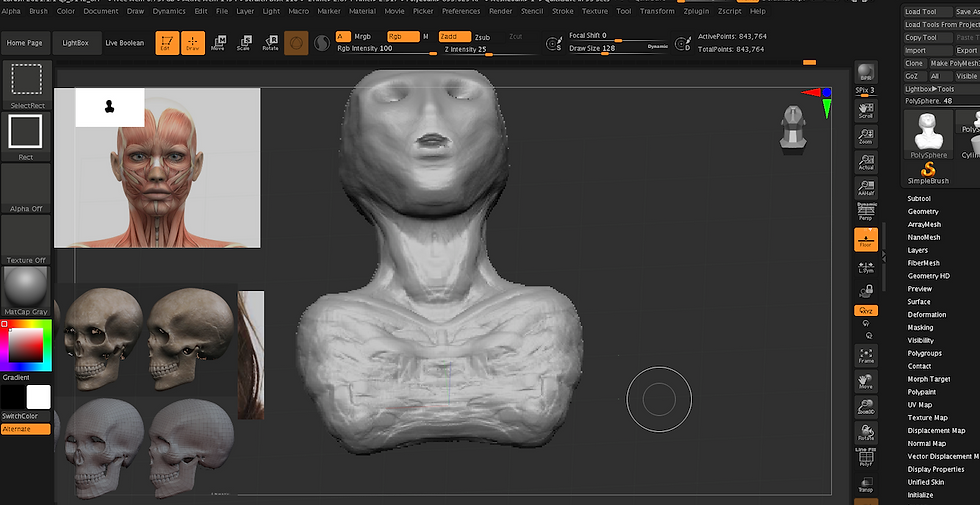
Week 1 : Anatomy - Proportions / skull
Angus Luscombe Webinar Class 09/10/2020 – 09:00
Week one of the Digital Sculpture module
explored the methods for the right facial proportions, applying the abstraction methods of Andrew Loomis.
An investigation and exercises in how to understand the differences between the female and the male skull structures.
Pointing to one of the many interesting discussions of this “Week one” of Digital sculpture, was to understand that the human skull knowledge of the bones positions, sizes and types (women/Men) and specially the right position of the “Zygomatic Arch” in modelling, certainly help to support the pin point of the facial features, resulting in a bigger possibility for a better final work results.
Overview: Proportion; Anatomical Directional; Terminology; Skull overview; Jawbone (Gonial) Angle; Construction and Abstraction; Exercises in construction; Zbrush introduction
Proportions & Skulls
Skull Compare Male vs Female - Exercise

Skull Drawing - Exercise


Zbrush first time try - 09/10/2020
Sea monster experiment
Zbrush skull practices - 11/10/202
Applying Andrew Loomis scientific approach
Other References: Zarins, U. (2018). L'anatomie pour Les sculpteurs: Et Les character designers, illustrateurs et animateurs 3D.


Experiment Aquatic Humanoid


Important note
These Three shots taken from the book L'anatomie pour Les sculpteurs: Et Les character designers, illustrateurs et animateurs 3D, was the starting point to build up the physical intention (movement) of the
Aquatic Humanoid above. The hands , the back and the arms was used as an inspiration to the final Physical and movement choices.
Week 2 : Features: Nose
Angus Luscombe Webinar Class 16/10/2020 – 09:00

Nose first try


Nose second try
The second nose was an experiment for my self, I used a pen display for the first time, I have to say that was an extra work to understand the commands and the pen touch sensitivity.
The final result I understand that is not what I was looking for but I did post in here anyways. I will post an other one soon!


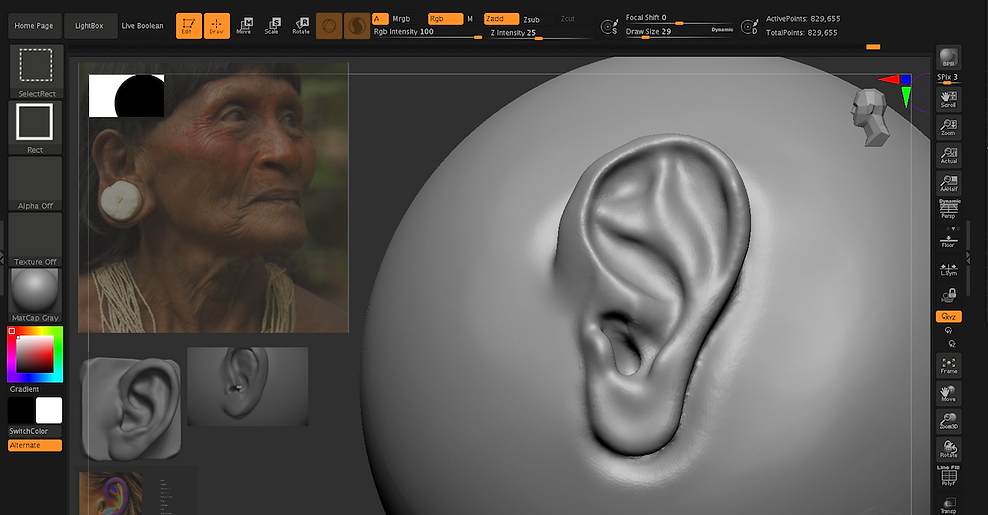
Ear first try (test)
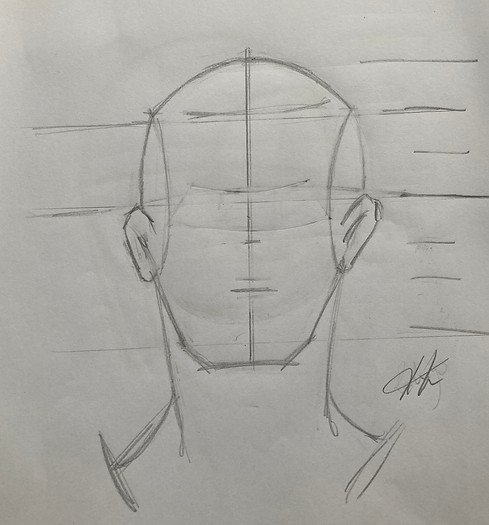
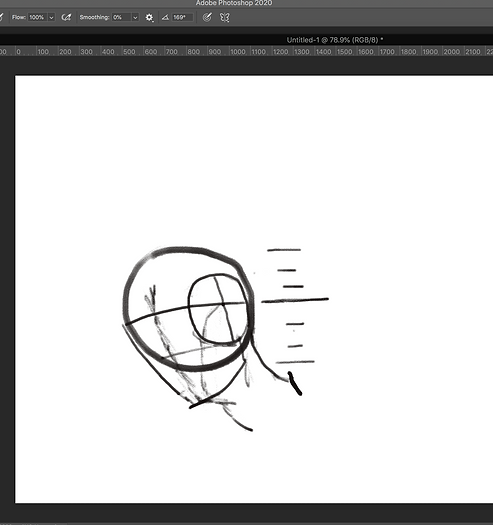
Week 3 - Features: Mouth
Angus Luscombe Webinar Class 23/10/2020 – 09:00
The top mouths were sculptured with no techniques applied, to experiment how the final module comes out to compare with the original photo. From the same base, I made different versions, change diameters of the top and the lines of the Vermilion.
For the African looking girl I applied Angus's steps.
Conclusion: It took me a few hours to finalise the first versions, but I can see good moments in the video history timeline, of the sculptured module. It took me 30 minutes to finalised the last one.
Considering that, I tried other different methods from the internet, but It got me stuck in the module no knowing how to do it.


Week 4 - Features: Ears
Angus Luscombe Webinar Class 30/10/2020 – 09:00


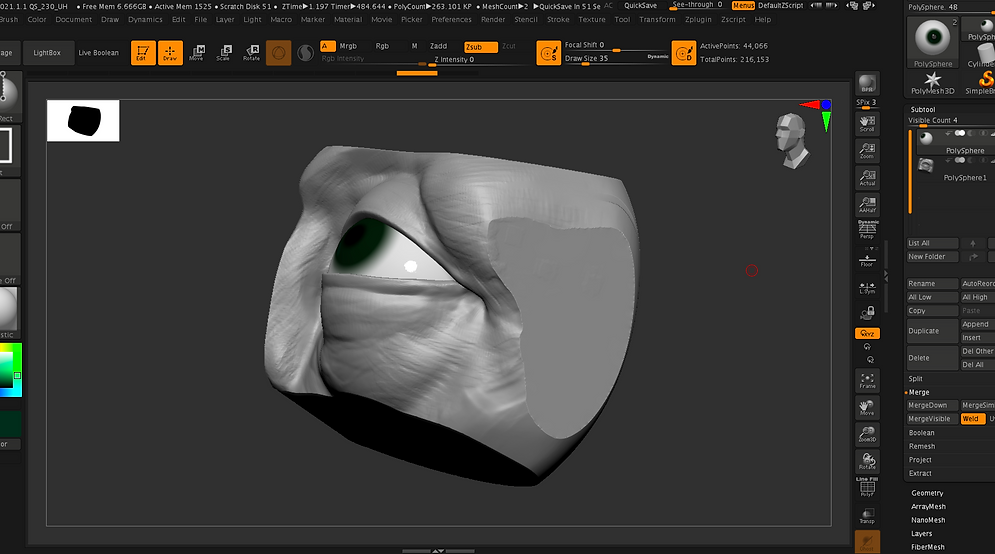
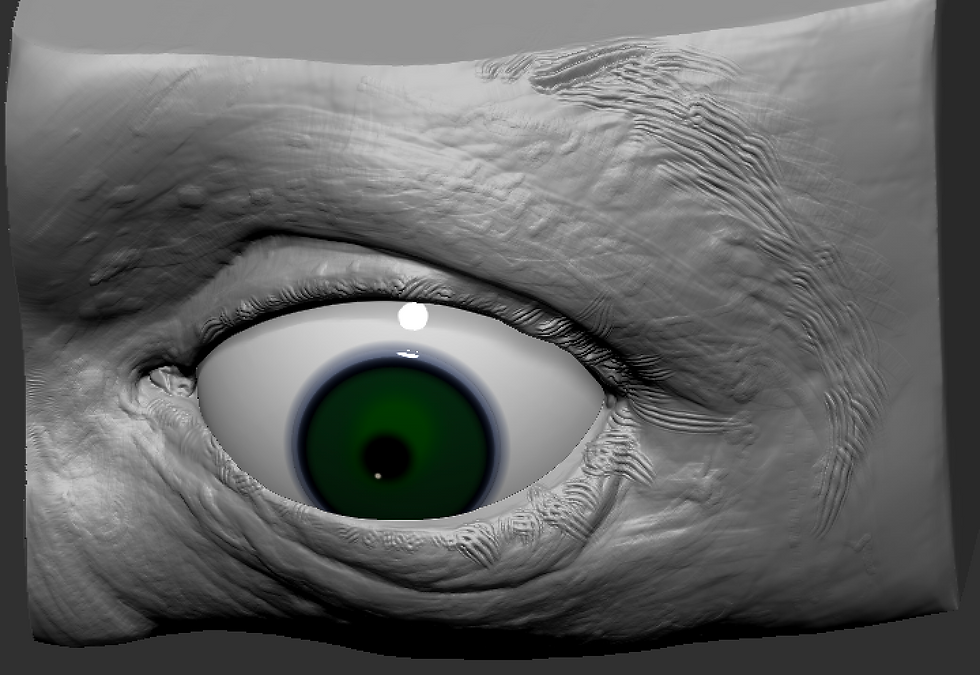
Week 5 - Features: eye
Angus Luscombe Webinar Class 06/11/2020 – 09:00


Week 7 - Villain & Comparative Anatomy
Angus Luscombe Webinar Class 20/11/2020 – 09:00


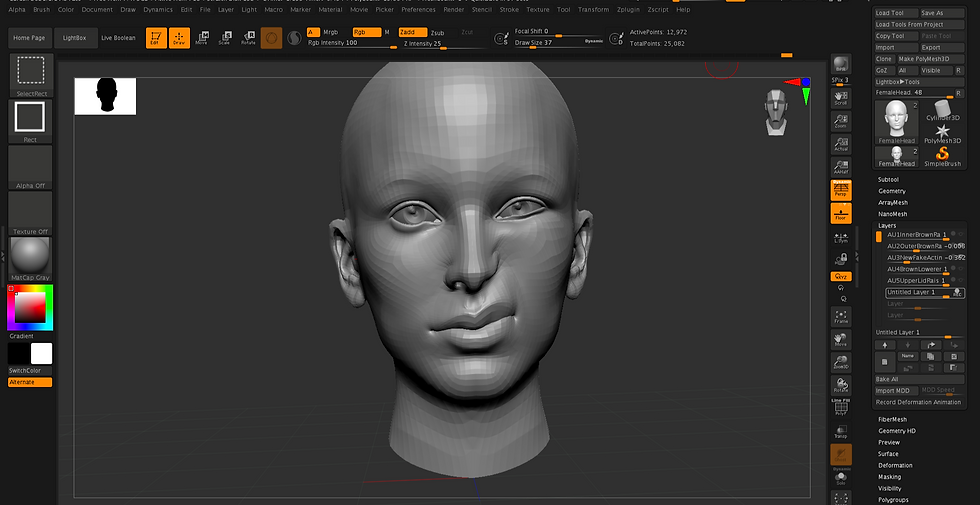
Week 12: Action Unit
Angus Luscombe
AU1: Inner Brow Raiser:
The frontalis Raises the inner corner of the eyebrows.

AU2: Outer Brow Raiser: The frontalis raises the outer corner of the eyebrown.

Experiment
AU3: “New” Fake acting eyelid inferior palpebral raiser

AU1+2

Experiment
AU1 + 2 + AU3: “New” Fake acting eyelid inferior palpebral raiser

A4 Brown Lowerer

Experiment
A4: BrownLowerer + AU3: New Fake Acting

AU: 5 Upper Lid Riser

Experiment
A4: Brown Lowerer + AU3: New Fake Acting

AU6: Cheek Raiser

AU6: Cheek Raiser (Second try)
AU6: Cheek Raiser (Third try)

Villain


Villain Process/ Experiments
Angus Luscombe
Male and Female tests